9 Water Photography Ideas (for Easy Inspiration)
Water photography offers dozens – even hundreds – of creative possibilities. It may seem simple, but water is an amazing photographic subject that’ll allow you to capture gorgeous shots using a variety of techniques.
What’s the best way to capture our favorite liquid in all its glory? In this article, I share nine inspiring ideas for photographing water, including a wide range of options that cover macro photography, landscape photography, and more. So if you’re struggling for inspiration or you simply aren’t sure how to get started, then you’ve come to the right place.
Let’s dive right in!
Table of Contents
1. Water droplet photography
Water droplet photography is all about – you guessed it! – photographing droplets, generally so they’re frozen in midair or splashing down into a pool of liquid:
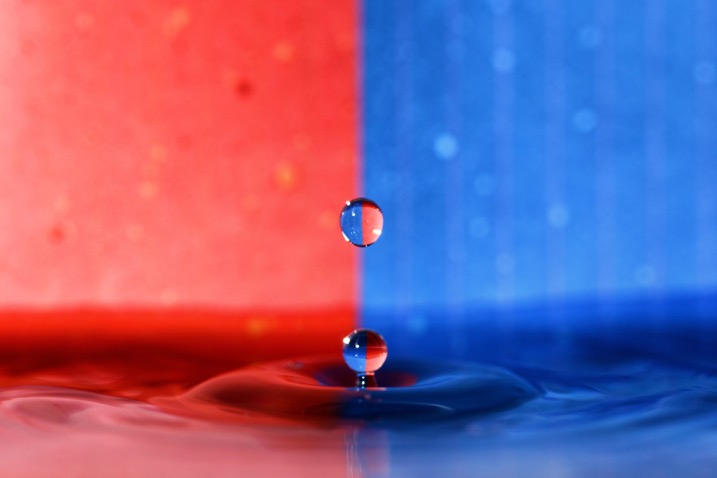
It’s a popular technique that you can experiment with at home, so it’s a great idea to try if you’re stuck inside for the day. Note that it is a form of macro photography – so you’ll want to grab your closest-focusing lens or a dedicated macro lens if you have one – and you’ll be photographing water droplets as they fall into a tub of water. Due to the motion of the falling droplets, the best results are generally achieved with off-camera flash.
A key consideration here is the background; I’d recommend placing solid colors behind the droplets, though you can also experiment with various objects or printed designs. Be aware that the background will generally be refracted in the droplets, which can add another level of interest to your images!
2. Long-exposure waterscapes
Long-exposure photography is an incredibly popular landscape shooting technique, and for good reason: It creates photos that are breathtakingly beautiful, plus they often evoke lots of emotion (especially when converted to black and white!). So why not take some long-exposure water photos of your own?
Head out to the coast or even a local river or lake and see what you can do! A good tripod is essential here, and an ND filter can help, especially if you plan to shoot during the day. I encourage you to experiment with different shutter speeds, but here are a few starting points:
- Capture water’s motion. Exposures of 1/2s to 1s in length will beautifully capture the water’s movement. This works great when photographing waves moving along a beach.
- Silk water. Water cascading down a waterfall can be made to look silky smooth with exposures between 1s and 2s.
- Flat seascapes. If you want to make the ocean look motionless and perfectly flat, try adding an ND filter and shooting for 10s or longer.
For this next image, I used a shutter speed of 1/3s to show motion without losing the texture of the waves:
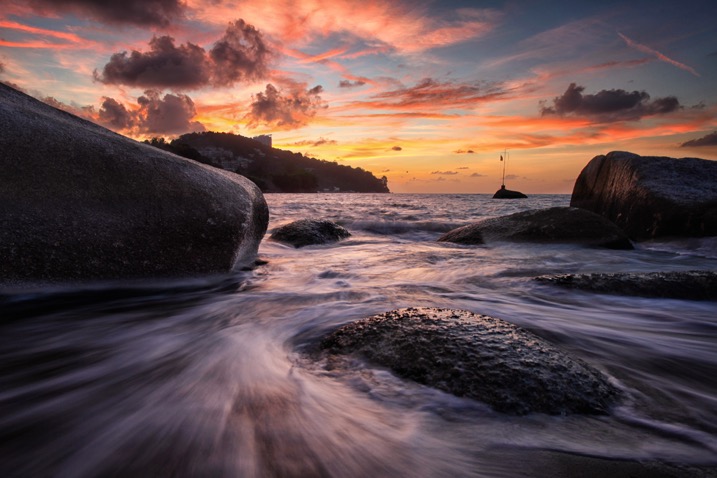
The long-exposure approach really is a great way to produce outstanding photos, especially when you’re photographing a rocky coastline. A quick (but essential) tip: If you do photograph along a coast, take care of yourself and your camera gear. Accidents can happen, and it’s also important that you pay attention to the tide times so you don’t get caught by the rising water.
Another quick tip? Watch the waves for around 30 minutes before you start photographing. Waves always come in cycles, and each cycle includes some larger waves. You need to know where these larger waves will land before you get too close to the water’s edge!
3. Freezing objects
It may not be the most conventional water photography idea, but that makes it fun! By freezing objects in blocks of ice, you can create unique still-life photos that present inanimate objects in creative ways.
As ice is transparent, you’ll be able to see your object inside the ice, although good lighting will be needed to make the photo come to life.
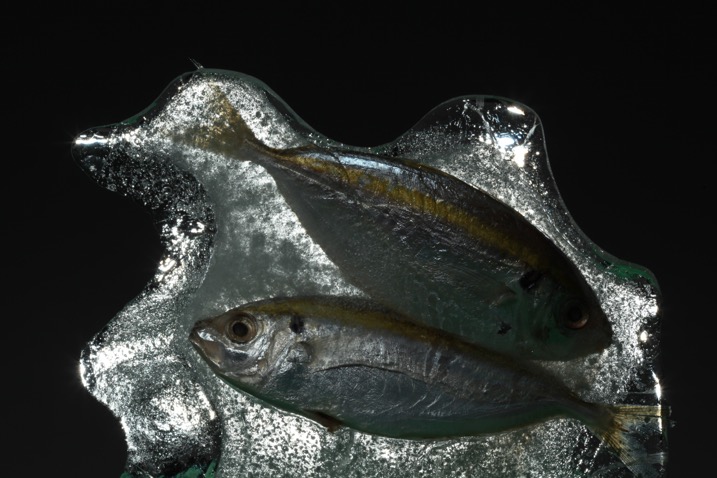
Start by freezing your chosen object (you’ll want to do this in layers – where you add more water over time – so you get a nice, even freeze). Then use a light source such as a spotlight or a strobe to give a stunning backlit effect! A macro lens can be a big help here, though you can also use an alternative macro technique, such as close-up filters.
This idea well for many objects, but I personally prefer to photograph things you’d find in the sea, like fish and seashells:
4. Photographing in the rain
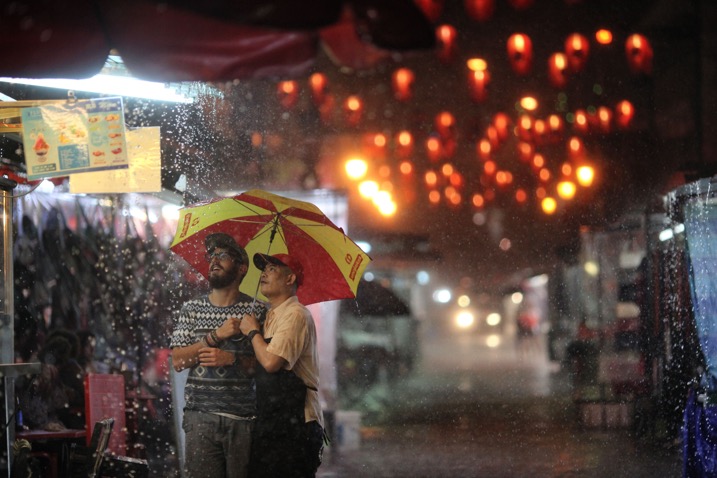
Most photographers avoid photographing in the rain out of concern that it’ll damage their cameras. This is a valid worry, but with the right precautions you can keep your gear safe and capture some amazing photos. There are several options for protecting your camera from the rain; for instance, you can buy a rain cover, which won’t cost too much but will generally do a great job of keeping away the water. Another option is to use a simple plastic bag secured around your camera and lens with a rubber band.
Rain can add a lot of mood to a street or travel photo scene, and shots of people with umbrellas always look great. Note that it’s often difficult to see the rain as it falls; try photographing against the light to make the droplets more visible.
5. Photograph oil and water
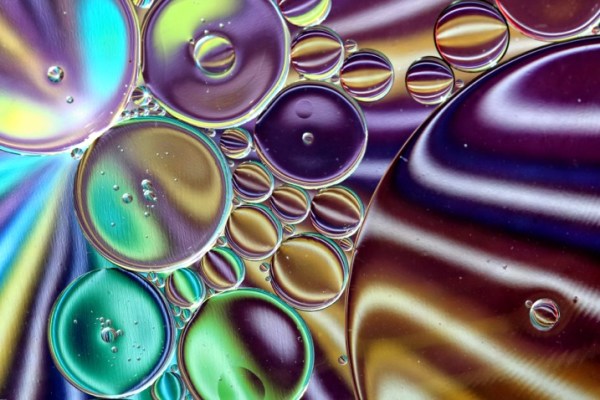
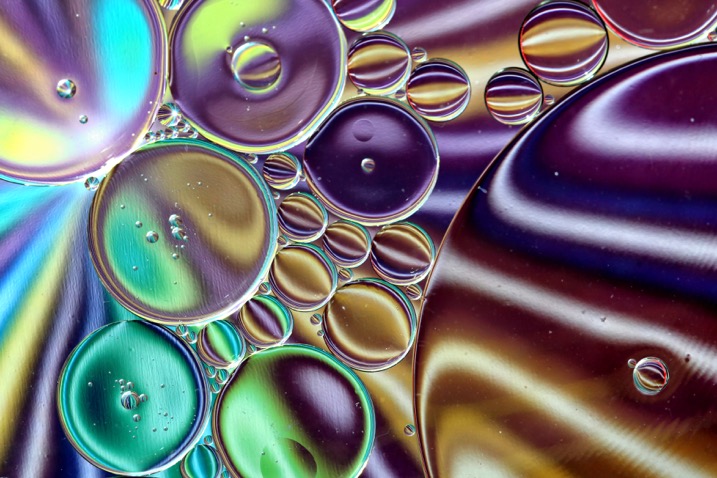
This one’s a great idea for some indoor photographic fun! Adding oil to water is an excellent way to create interesting patterns and shapes in the liquid, which you can then use to create stunningly abstract images. Here’s how it works:
- Add water and oil to a glass container with a transparent base.
- Set the container across two piles of books (so there’s a gap below the container).
- Initially, the oil will make a large bubble and won’t mix with the water. To create smaller oil bubbles, add liquid soap and mix the solution.
- Below the glass container, add a background image; this will add color to your photos. You can use anything here, but solid colors are nice, as are gradients and even rainbows.
- Use a macro lens to focus on an area of oil; the more circular the shape, the better.
- Use a strong spotlight or a strobe to light your photo. (You can shoot using natural light, but you’ll need to work by a window to ensure a sufficiently fast shutter speed.)
- When you find an interesting pattern in the mixture, take a shot!
6. Water droplets on glass
This water photo idea uses refraction to create a fun effect:
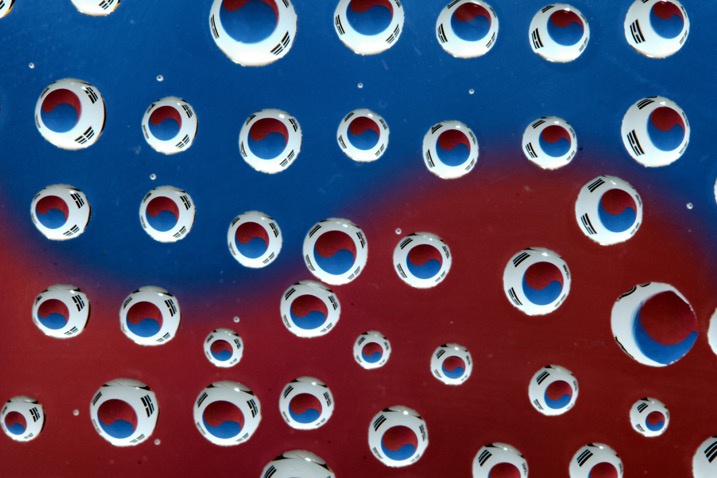
Here’s what you do:
- Find a clear piece of glass; the pane from a picture frame will work well.
- Create two piles of books and place the glass over the piles. Make sure there is a gap so you can photograph through the middle.
- Smear some windscreen rain repellent on the glass. This hydrophobic substance will make the water droplets more circular. Once you’ve added the repellent, allow it to dry for a few minutes.
- Add the water to the glass surface. If you want to be precise, you can use a water dropper. Alternatively, you can use a water spray bottle.
- Place a background image beneath the glass. I’d recommend choosing a printed design that will create an interesting refraction inside the droplets.
- Use a macro lens to manually focus on an area of glass that has some interesting water drops.
- Use an externally triggered strobe to light up the image behind the glass.
- Take your photo! For my water droplet images, I generally use an aperture of f/9, a shutter speed of 1/60s, and an ISO of 200.
7. Reflections
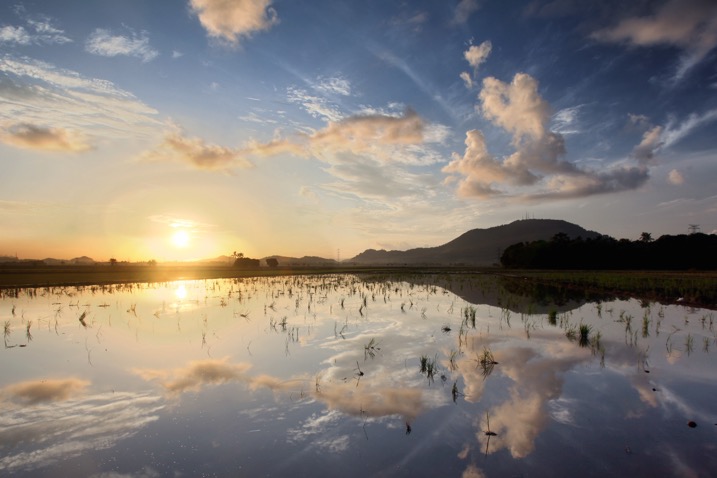
Water can provide some amazing reflections. So pick a nice calm day and head to your nearest reflecting pool! (Alternatively, you can head out after the rain and photograph some puddles.) Here are a few quick tips:
- Photograph on calm days; otherwise, the wind will ripple the water and ruin the reflection. Note that larger bodies of water – such as ponds or lakes – will also create beautiful reflections, though these need to be visited on days when there is no wind at all so the lake is perfectly still and calm.
- Change your angle and position. The closer you get to the water, the more detailed the reflection. Experiment with changing your angle if you want to introduce alternative elements into the composition.
- Polarize the light. A circular polarizing filter will make the reflection stronger or weaker as you desire. See what happens when you twist the polarizer!
8. Try splash photography
Water can look incredible when it bounces off of something or something plunges into it, but capturing the splash is a real technical challenge. The splash needs a fast shutter speed to freeze it in the air, so you’ll need bright ambient light or a strobe.
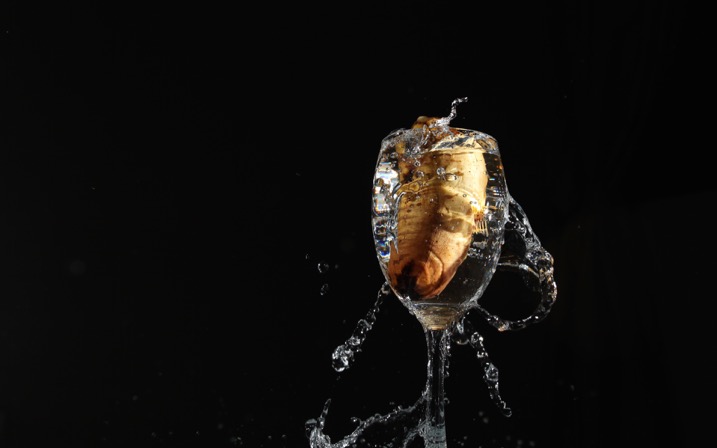
You can do splash photography in a few different ways. One option is to drop objects into a tank or even a glass filled with water, then fire your shutter just as the subject impacts the liquid. I’d recommend using a strobe (and you can vary the angle for different lighting effects).
Another option is to throw water at an object and fire your shutter as it glances off. If you can catch the moment of impact, you may end up with a great photo. This is the more difficult method of the two, but it’s also more unique; the choice is yours!
9. Try underwater photography
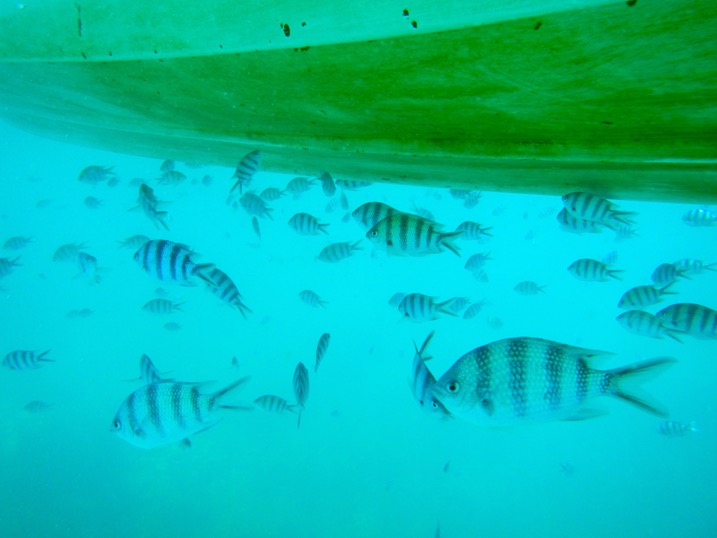
Underwater photography may be difficult and gear-intensive, but if you have a passion for photographing sea life, it’s definitely worth it! You can capture beautiful coral reefs, stunning fish, gorgeous sea turtles, stretches of stunning blue-green water, and so much more. It’s a great option for the casual snorkeler or scuba diver, and it can also be worth pursuing in a serious capacity.
You will need to invest in (expensive) housing for your camera, as well as a light source that can be taken down to the ocean floor. An alternative is to purchase a camera designed specifically for underwater use, though the results may not be quite as good.
Photographing with a model can also be fun underwater; you can create all sorts of ethereal images!
Water photography ideas: final words
As you can see, there are plenty of amazing options for water photography. Hopefully, you’re now feeling inspired, and you’re ready to go capture some gorgeous water droplets, splash shots, underwater scenes, and more.
So grab your camera. Find some water. And have fun!
Now over to you:
Which water photography idea do you plan to try? Share your thoughts (and images) in the comments below!
