Headshot Photography: An In-Depth Guide for Professional Results
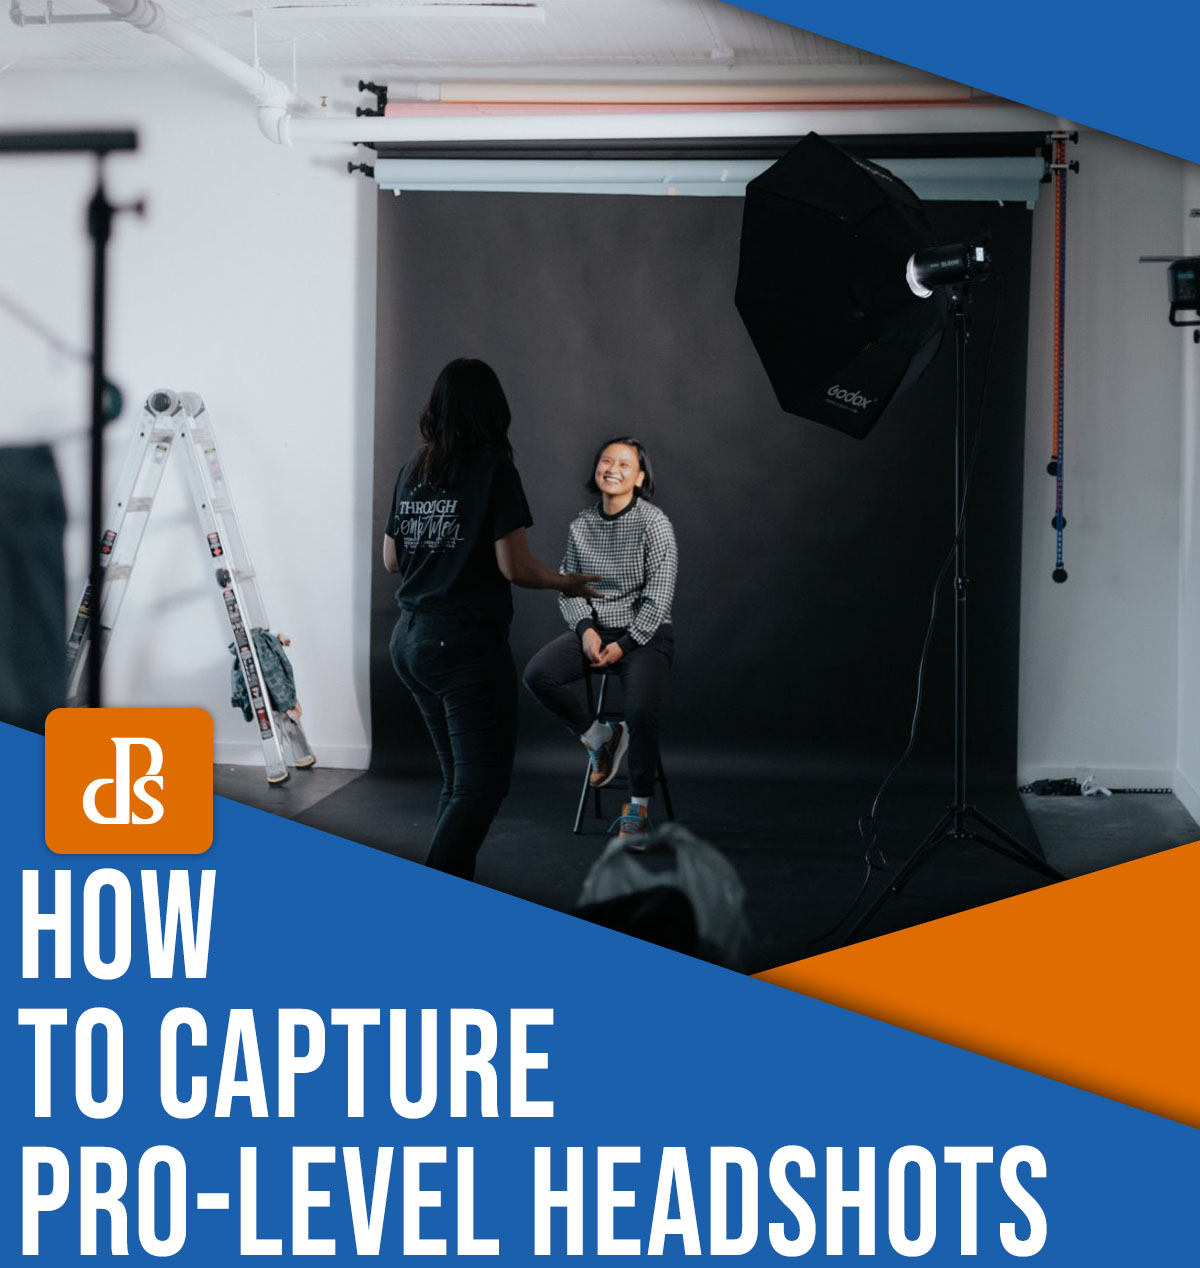
Headshot photography is one of the most popular forms of portraiture, and for good reason. Pretty much everyone needs a pro-looking headshot at some point in their lives, whether it’s for a social media profile, a staff page on a business website, or a résumé.
But capturing gorgeous headshots isn’t as easy as it might seem. You need to carefully choose the right settings, determine the proper composition, ensure a beautiful background blur, make sure the subject’s expression looks good – the list goes on.
I’m a veteran headshot photographer, and in this article, I share my top tips for stunning results, including various tricks and techniques I’ve developed through lots of trial and error. I also share plenty of professional examples so you know exactly what to look for. By the time you’re finished reading, you’ll understand precisely how to create a refined headshot, no matter the situation.
Let’s get started.
Table of Contents
- 1 What is a headshot?
- 2 Why is quality headshot photography so important?
- 3 The best headshot photography gear
- 4 Headshot photography lighting: a primer
- 5 12 headshot photography tips for stunning results
- 5.1 1. Have a pre-session consultation
- 5.2 2. Help your subject choose the right clothes
- 5.3 3. Create separation from the background
- 5.4 4. Shoot in Manual mode
- 5.5 5. Give your subjects time to relax
- 5.6 6. Ask for silly faces
- 5.7 7. Shoot in RAW
- 5.8 8. Sit people down
- 5.9 9. Pay attention to the little things
- 5.10 10. Keep talking and be positive
- 5.11 11. Shoot tethered
- 5.12 12. Don’t forget to process your photos
- 6 Headshot photography tips: final words
What is a headshot?
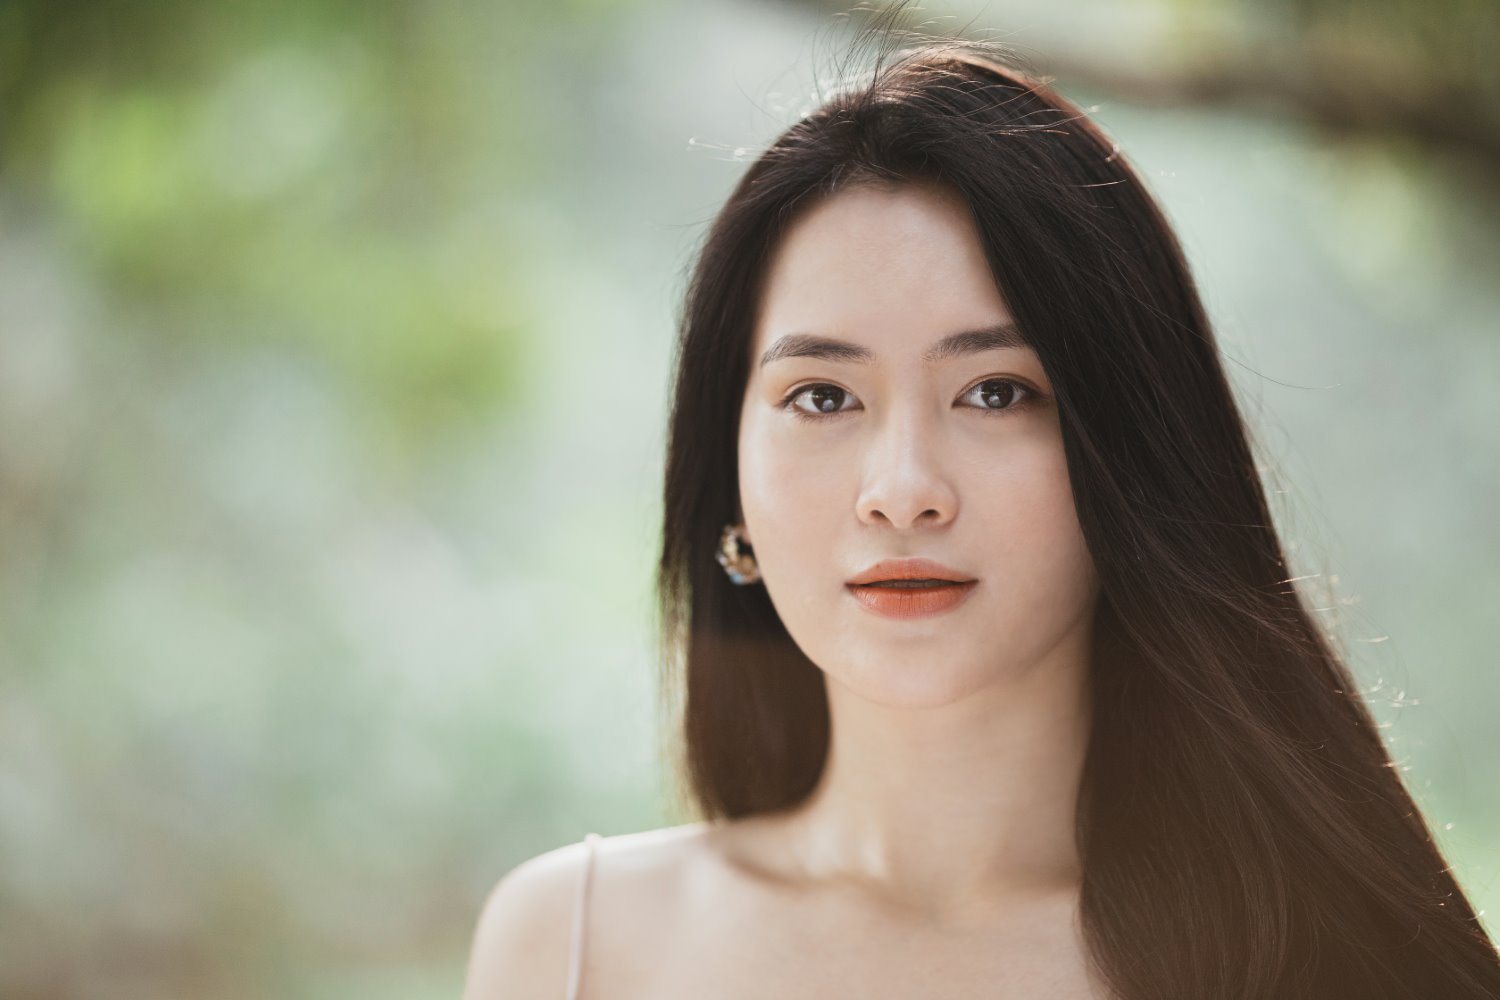
At its core, a headshot is a photograph that zeroes in on a person’s face.
Sometimes it’s just the head, and at other times it can extend to include the shoulders or even just the upper body. The focus is almost always on the person’s face, and the image is usually set against a neutral background to eliminate distractions (though as you’ll see, it’s possible to capture lifestyle-type headshots that situate a person in their surroundings).
The goal of headshot photography is simple yet crucial: to present the individual in a professional and approachable manner. And depending on the context, a headshot can serve multiple purposes. In corporate settings, it’s often the picture people see before a meeting. Actors use headshots to land roles. Even on social media, a quality headshot helps to establish a strong first impression.
Why is quality headshot photography so important?
In today’s digital world, a headshot is practically a necessity – and you can’t just head into your bedroom, pose against the wall, and snap a grainy selfie, either. You need a polished, professional image.
Whether you’re a freelancer, a small business owner, or a student, your headshot serves as a visual resume. It can make or break opportunities for you. A quality headshot is your foot in the door. It’s the first impression people have of you, and it often comes long before they meet you in person.
Your headshot is everywhere, from LinkedIn profiles to business cards, from personal websites to corporate directories. This ubiquity makes it more essential than ever to get it right. A poor or even just an average headshot can inadvertently convey a lack of professionalism, ruining a great opportunity before you can say, “Wait!”
So the better the headshot, the better the impression you make. And the better the impression, the more doors will open for you, both professionally and personally. Investing in a good headshot can bring returns that far exceed the initial cost. This is why mastering the art of headshot photography can be so effective for portrait photographers; it allows them to offer a service that everyone needs.
The best headshot photography gear
Before you even press the shutter button, your gear plays a huge role in the quality of the headshots you’ll capture. It’s not just about the camera; your lens, lighting, and even your backdrop can impact the final product. Here’s the equipment I recommend you use:
An interchangeable lens camera
Start with a camera that offers interchangeable lenses. This will be your primary tool, and it needs to be up to the task.
Why interchangeable lenses? Because they offer unparalleled flexibility and image quality. You get to choose the best lens for the specific shot you’re taking, which means you’re not compromising on the end result. With fixed-lens cameras, you might find yourself stuck with a suboptimal perspective that doesn’t do your subject justice.
Plus, interchangeable-lens cameras offer larger sensors, which in turn delivers better image quality. For that reason, purchasing a DSLR or a mirrorless camera is a great starting point (though you don’t need to go wild and spend thousands of dollars; there are some nice entry-level options that are capable of pro-level images.)
A high-quality portrait lens
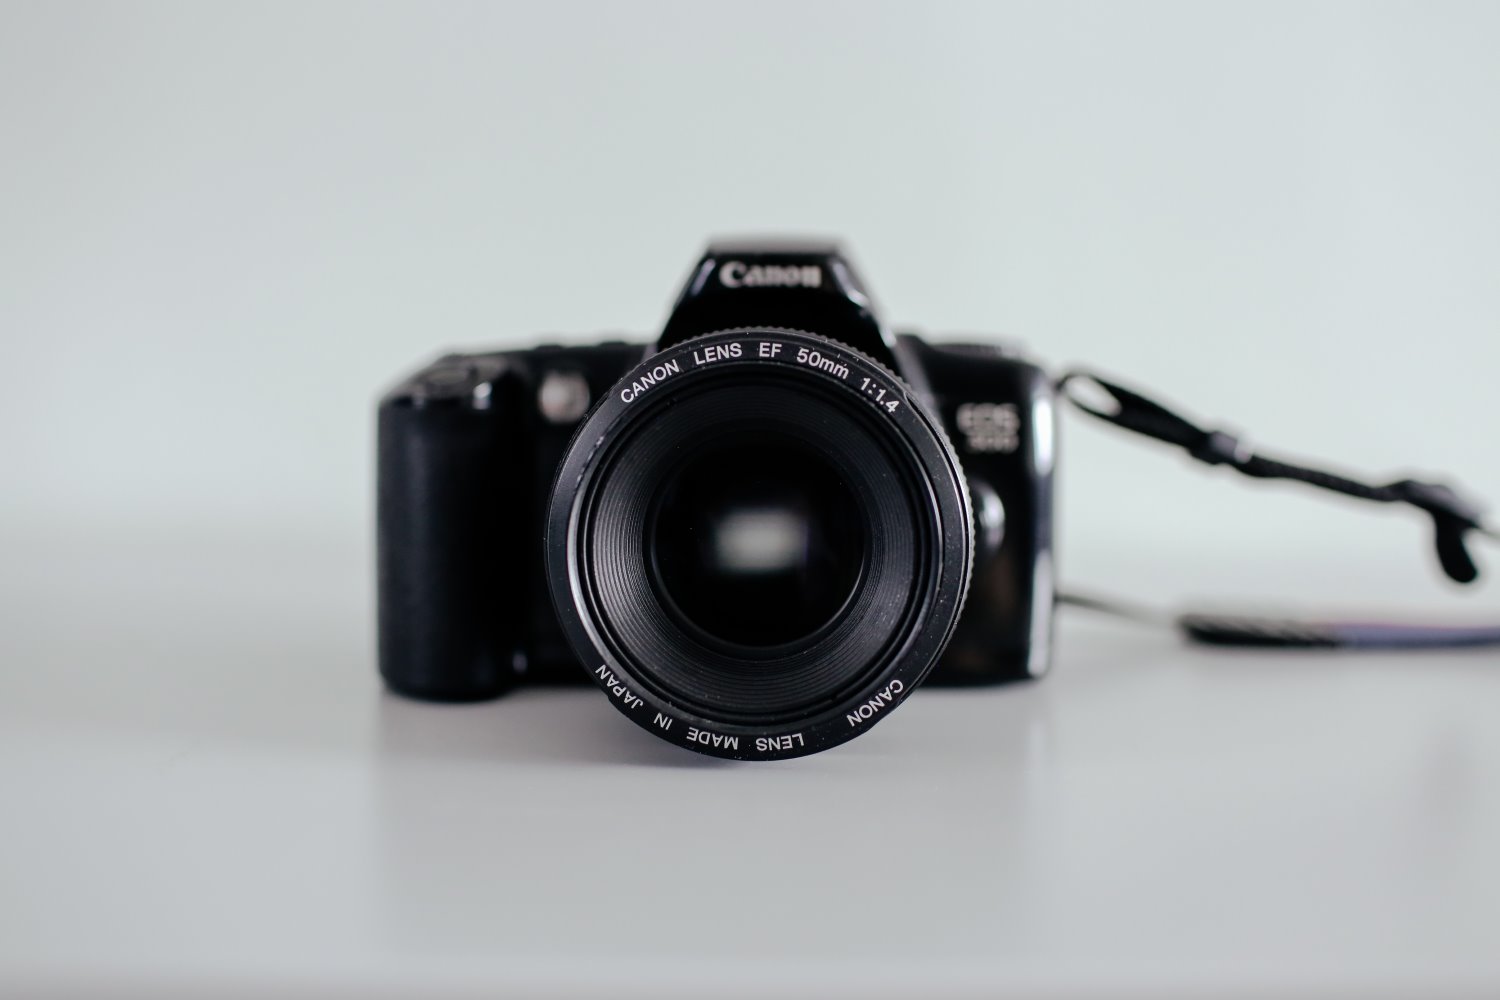
Selecting the right lens can make a world of difference in headshot photography, but what lens should you pick? There are a few different options, but if you can only work with one lens, a 50mm prime or an 85mm prime would be my top choice.
You see, the standard and short-telephoto focal lengths create a perspective close to the natural field of view of the human eye; as a result, they allow you to shoot from a reasonable distance and avoid unflattering distortion. Plus, 50mm and 85mm prime lenses come with wide apertures, allowing you to blur out the background so your subject stands out.
Now, between the 50mm and the 85mm, it mostly boils down to your shooting environment. If you have a smaller studio or shooting space, a 50mm lens might be more convenient. If you have room to step back and/or want a tighter composition, an 85mm lens is ideal.
An off-camera flash
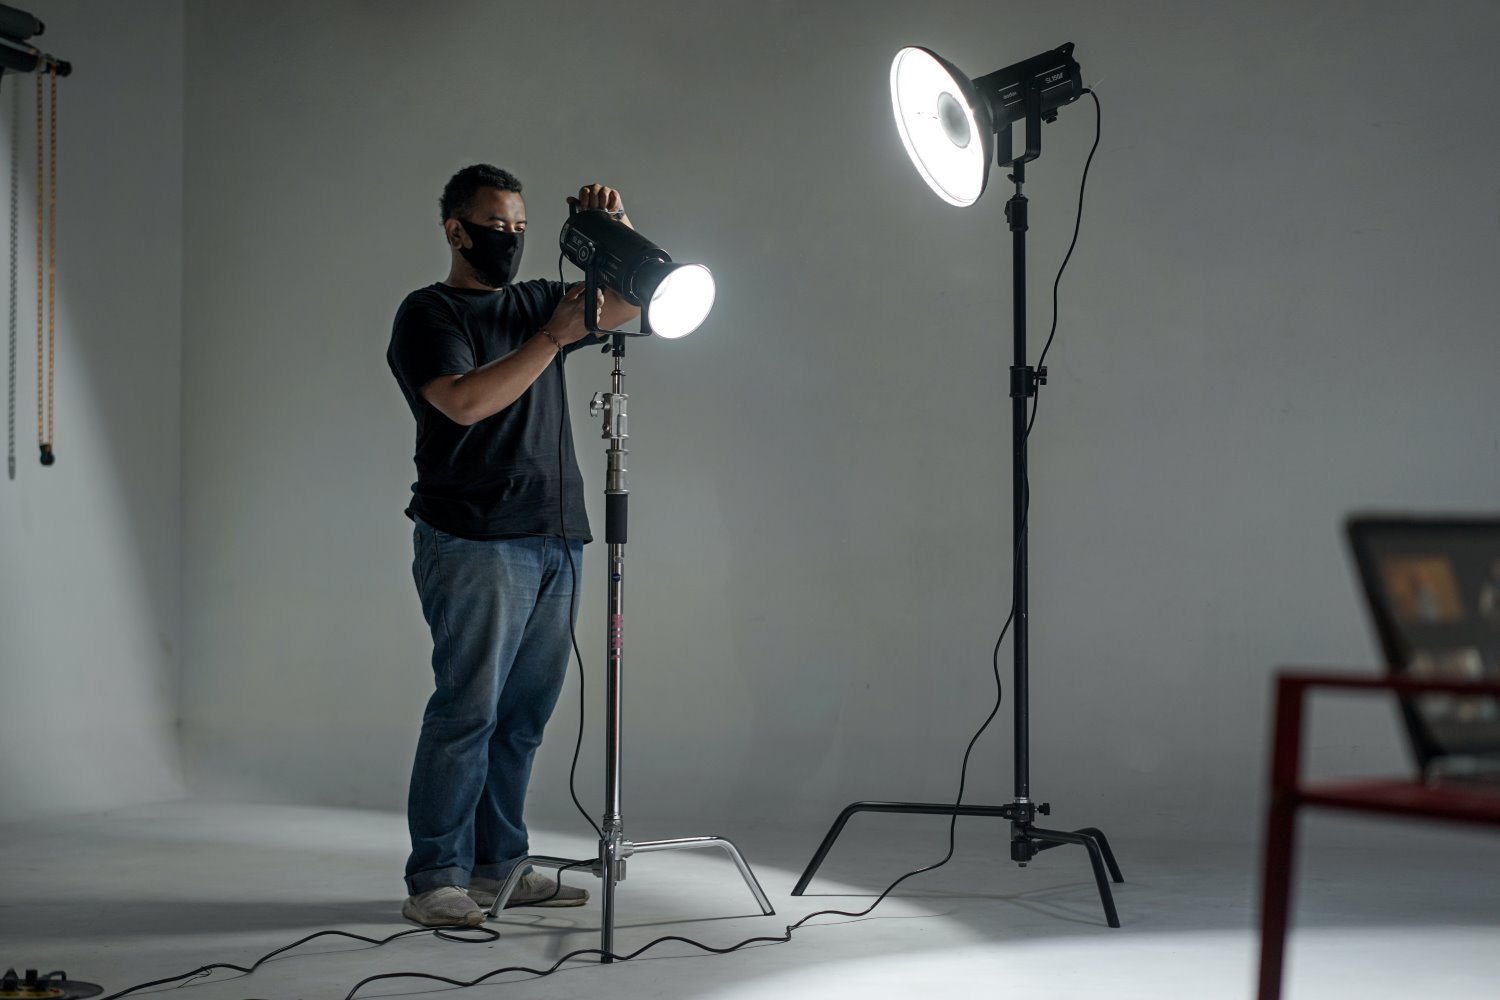
Most serious headshot photography takes place indoors – either in a studio or at the client’s office – where light can be hard to come by. And even if you’re working in an area with large windows and lots of light, you won’t have much control over its intensity or direction. That’s why I recommend using at least one off-camera flash.
Off-camera flashes allow you to position your light source at different angles, which allows you to achieve a variety of different effects. For instance, you can angle your flash to create a dramatic effect, a clean effect, and anything in between. This ability to control the direction and intensity of light can make a huge difference.
And no, I don’t recommend you simply use your camera’s pop-up flash. In addition to gaining plenty of flexibility, by taking your flash off-camera, you avoid the “deer in the headlights” look that on-camera flash often produces, and you can instead produce a more natural, subtle headshot.
A reflector
Reflectors don’t produce light; rather, they bounce it. And if you’re only working with a single off-camera flash (or you’re using natural light), a reflector is a great way to easily balance out the lighting on your subject.
A well-positioned reflector will fill in unwanted shadows, particularly those under the eyes or chin (common issues in headshot photography!). Reflectors are also very lightweight and can fold up for added portability, plus they usually come in various colors like white, silver, or gold, each offering a different quality of light bounce.
A tripod
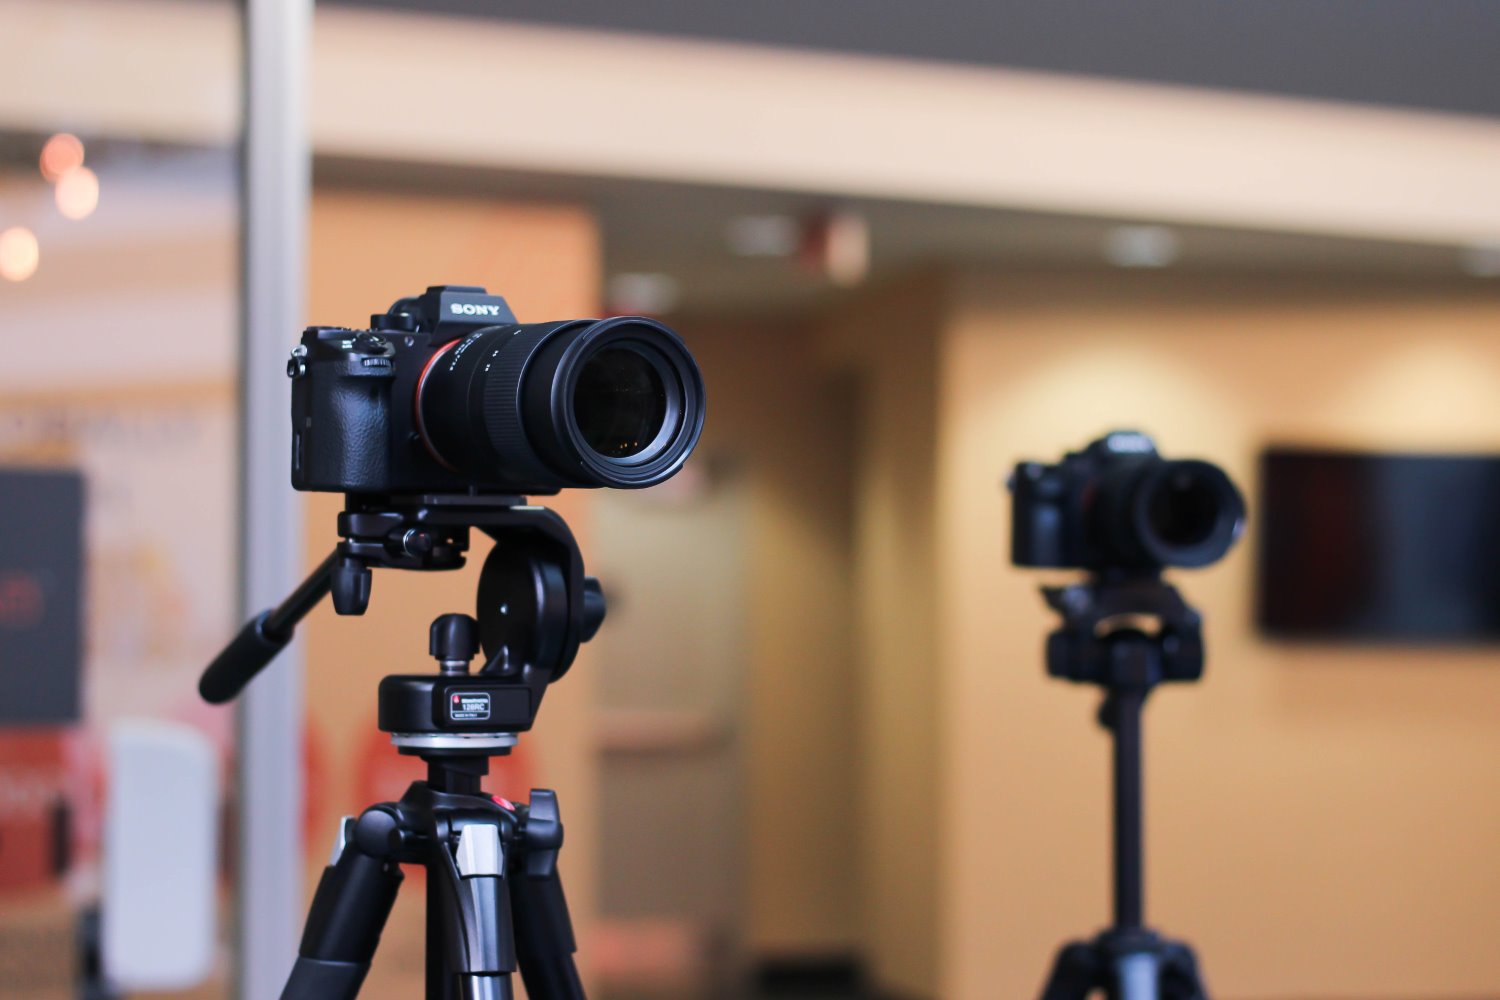
Whether or not you work with off-camera flashes, don’t underestimate the role of a good tripod in your headshot setup! For one, it frees you up. Once you’ve framed your shot, a tripod allows you to engage with your subject without worrying about losing your framing; you can walk out from behind the camera to talk to them, to show them different poses, etc.
It’s also essential if you’re photographing several people back-to-back (e.g., when doing a quick office photoshoot for all the employees on the floor). You can establish your lighting and composition, lock in your camera, and capture consistent results.
Studio backdrops
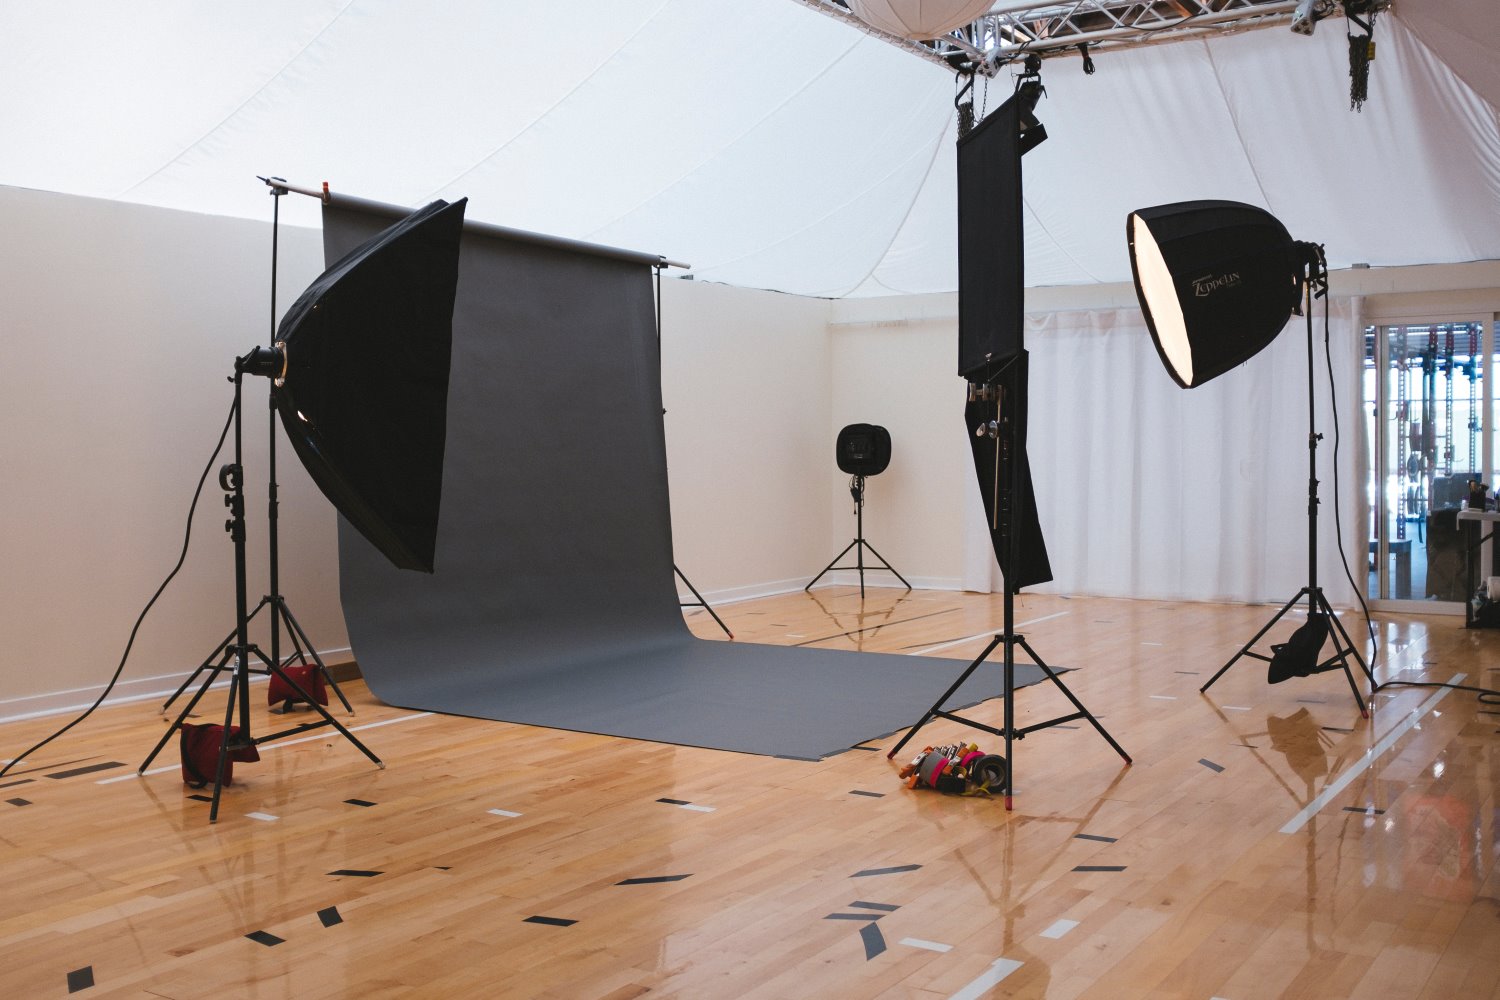
Last but not least, let’s talk about backgrounds. Having a couple of studio backgrounds on hand can be crucial for your headshot sessions.
Some nice backgrounds allows you to give your subjects options – some people prefer a more natural setting, while others might request a formal backdrop like seamless paper in black or white. Offering such choices elevates your service and makes the session more personalized.
Additionally, the right background can drastically improve the overall feel of the headshot. It can add depth or simplicity, depending on the look you’re aiming for. At the end of the day, having a variety of backgrounds on hand gives you the flexibility to meet different client expectations and opens up creative possibilities for your work.
Note: Make sure to invest in a reliable method for hanging these backgrounds as well, and if you’ll be shooting on location, make sure it’s one you can quickly set up and tear down. Whether you use a dedicated background stand or an improvised solution, it should be sturdy enough to hold the backdrop securely.
Headshot photography lighting: a primer
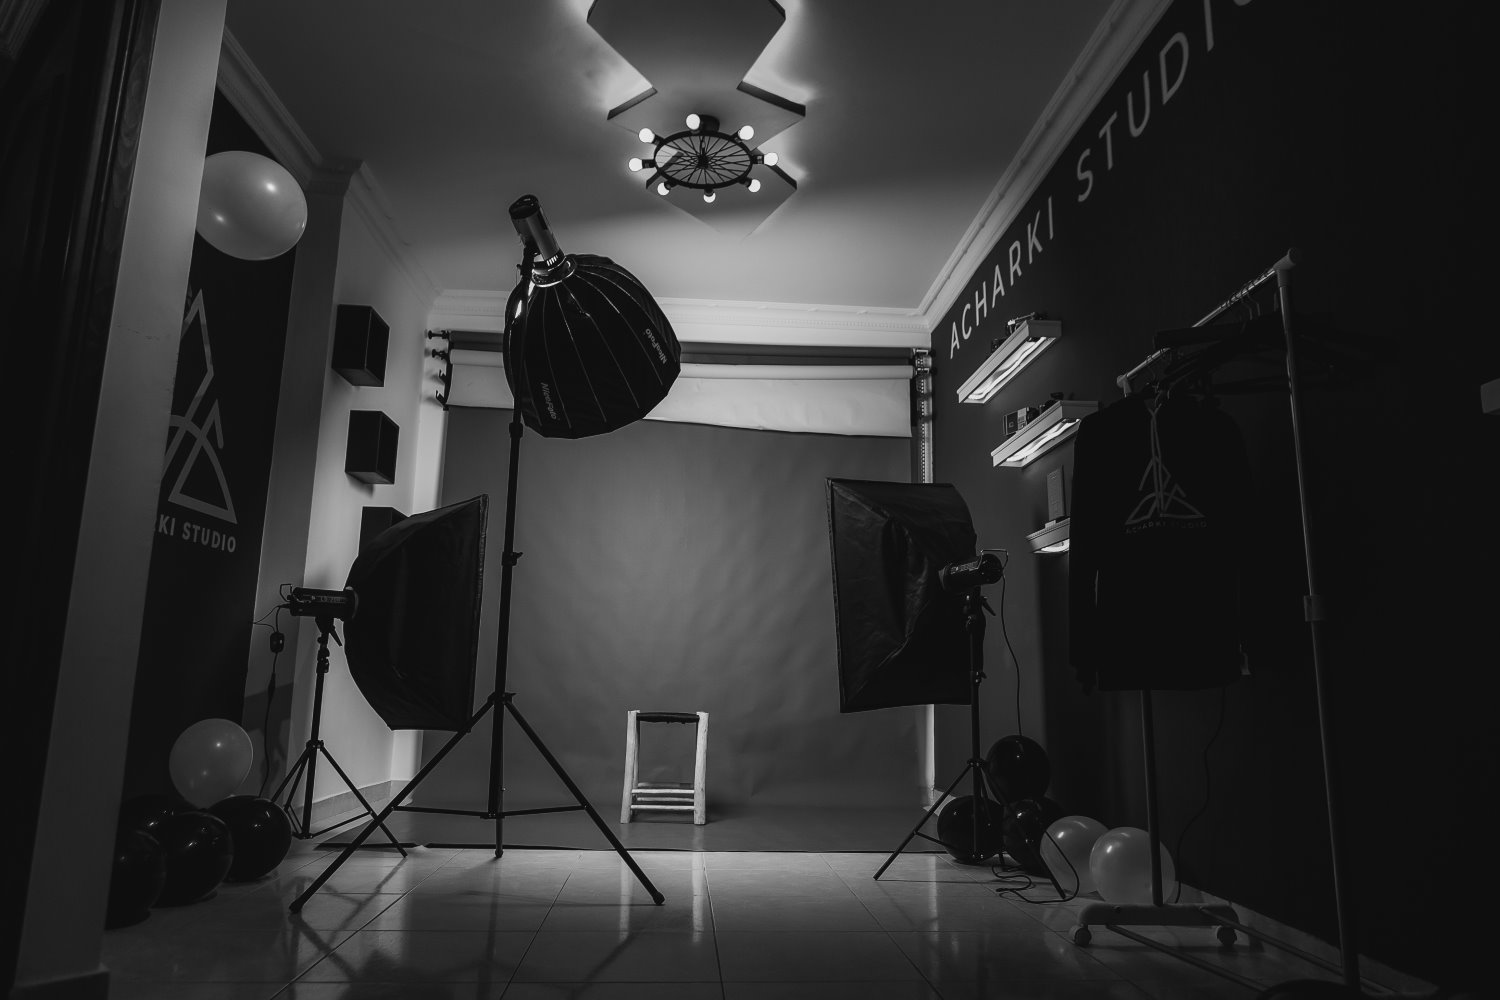
Lighting is an essential part of professional headshot photography, and you one-hundred percent cannot skimp on your lighting techniques. Lighting should be controlled and carefully positioned. Fortunately, once you know the basics, getting a good, consistent look is actually quite easy.
For business and actors’ headshots, I tend to light quite evenly. There are a few circumstances where the images are low key (i.e., moody with a black background), but for the most part, I like to go for a balanced, detailed effect. A classic beauty lighting setup works well, with one light above and a second light, or a reflector, supplying fill light from below. You can also try positioning your key light slightly off-center to add a bit of definition to your subject’s features.
I generally make sure the subject’s body is turned 45 degrees away from the camera, while their face remains pointed toward me. (You may need to guide people to look straight down the lens – and you may be surprised how many people, when left to their own devices, will look off-camera, at the flash, or somewhere random – and it won’t turn out so great!)
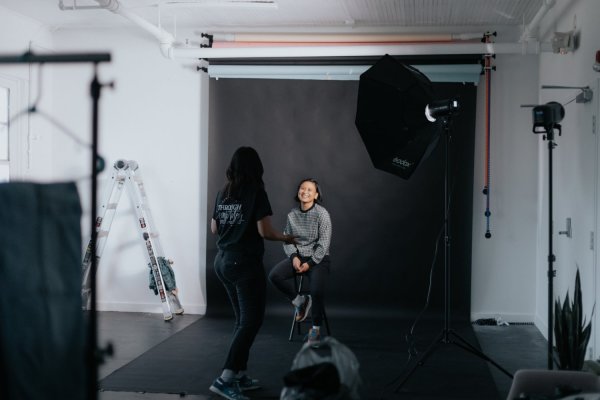
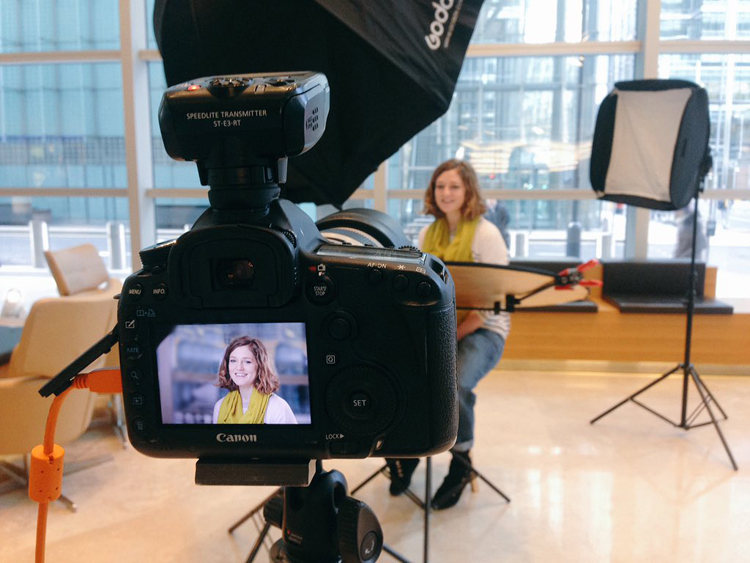
As you can see from the behind-the-scenes shot below, I’ve asked my subject to turn her body 45 degrees from the camera. (She’s still looking straight into the lens, though!) I’ve added a large light in front (slightly to the left), and I’m using a reflector below her face to reduce harsh shadows. I’ve also included a small softbox behind my subject to separate her hair from the background.
And here’s a headshot example that I captured using a similar setup:
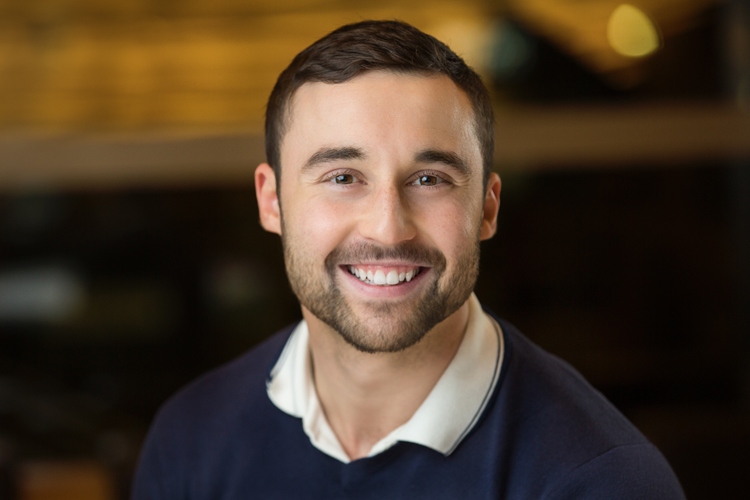
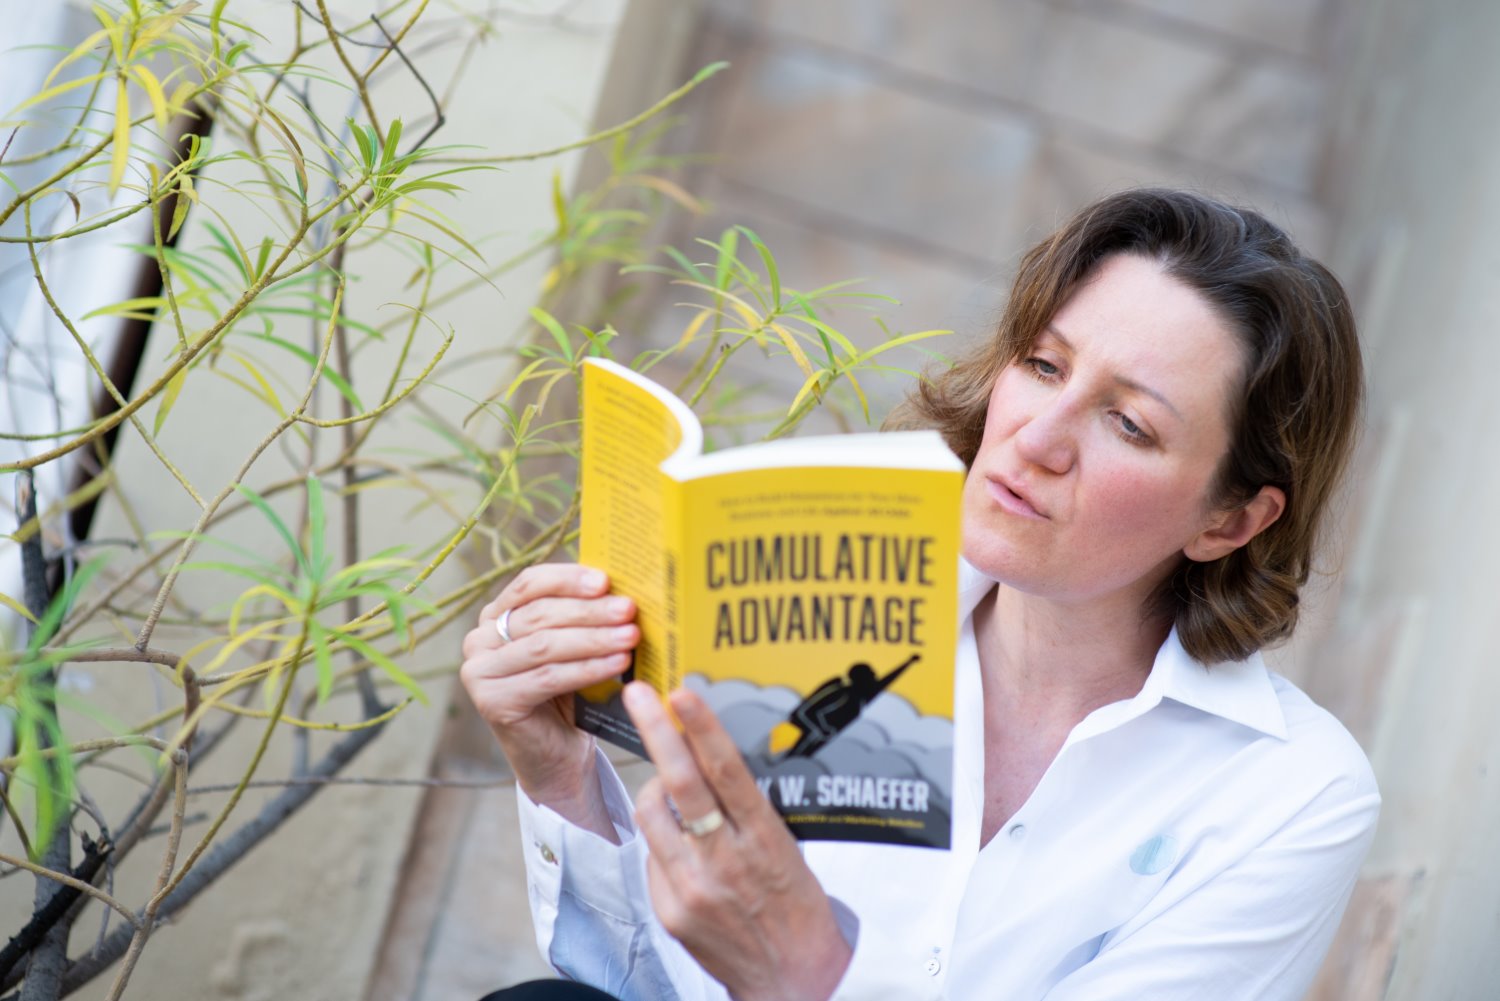
Of course, if you’re after a more candid headshot – where your subject is talking on the phone, reading, or working on their laptop – you’ll need to be more flexible, but you should pay careful attention to the lighting regardless.
12 headshot photography tips for stunning results
Capturing top-notch headshots – the kind that’ll please even the most serious clients – doesn’t have to be difficult, but it does require a nuanced approach. Here are my favorite tips to help you out, including a rundown of the best headshot photography settings:
1. Have a pre-session consultation
There are many different headshot styles – and different models/clients/subjects will need specific stylistic results depending on the headshot purpose. For instance, an artistic, color-graded look might work great for a fashion model but won’t be appreciated by a corporate client.
So before your session, have a sit-down with your subject. Make sure you know exactly how your headshot photograph will be used. You might even ask, point-blank: “What kind of style would you like?” And be prepared to show plenty of examples that convey their options.
This consultation can take place on the phone or face-to-face. I don’t recommend communicating in writing, though; talking to your subject will help them relax much more than an email, and you can use the consultation to help them prepare for the session, too (by explaining what to expect and by answering their questions).

Pro tip: If the headshots will be used for corporate materials, use the consultation to find out your subject’s profession. A corporate lawyer may opt for a clean white background look (above), while a more relaxed professional (e.g., a yoga instructor) may prefer a colorful, environmental image (below).

And an actor or writer may desire the more dramatic effect created by a black background:

2. Help your subject choose the right clothes
Generally speaking, solid, neutral colors work best for headshots, as you want to avoid anything that distracts from people’s faces.
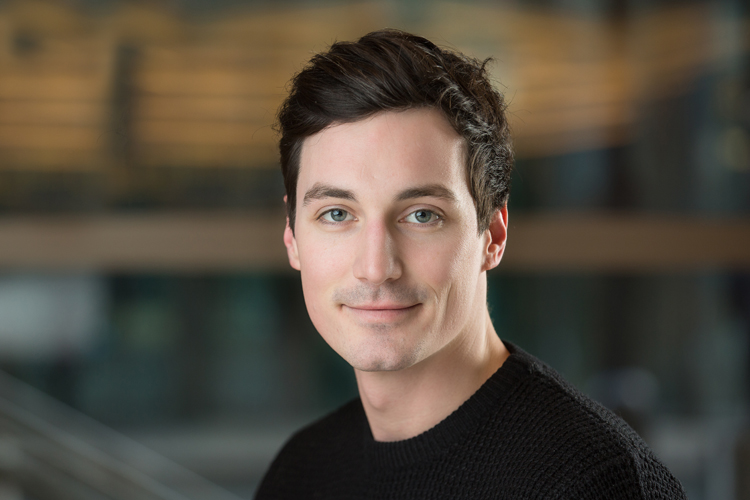
If you’re looking to achieve a formal style, make sure everyone remembers to bring their best work clothes. Men often forget their jackets, so for a consistent look, try to have a spare one on hand, even if you need to clip it at the back. And if possible, send out a reminder the day before your scheduled photo shoot. (Oh, and include an ironing reminder, too – there’s nothing more frustrating than a photo ruined by wrinkled clothes!)
Also, if you’ll have lots of time with a person, get them to bring a few items of clothing. You can do changes throughout the session and provide them with a variety of final images.
Here are some examples of good clothing choices:
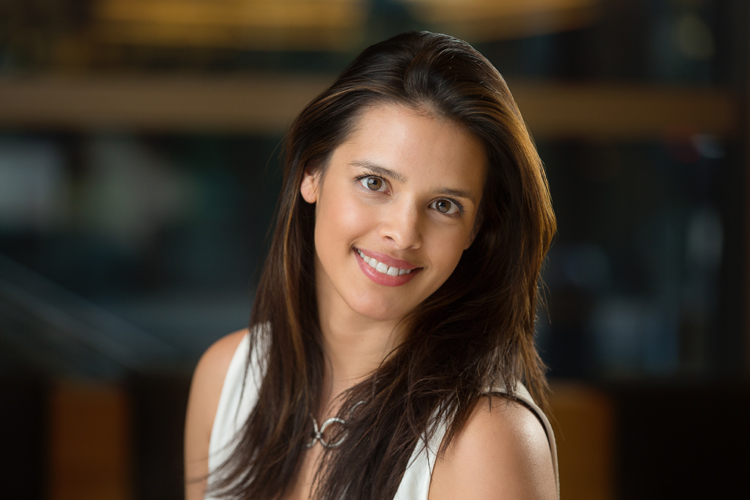

Notice how the tops are generally solid in color and relatively plain? That keeps the focus on the subject’s face.
3. Create separation from the background
Great headshot photography generally includes separation between the subject and the background. There should be a clear foreground subject (the head!) and a clear (ideally blurred) background.
The easiest way to achieve this effect is by positioning your subject a handful of feet in front of any background elements, be it trees, grass, a stairwell, a building, or a desk. For indoor portraits, don’t let your subject lean against the wall; instead, bring them out so the wall can blur.

Also, if you are using a studio background (or the wall in an office) and you let your subject get too close, you may see shadows on the wall, which makes the images look less professional. Bottom line: get your subject away from the background, no matter how interesting or nondescript it seems.
You can also enhance the subject-background separation by widening your aperture, which will decrease depth of field to create nice background bokeh. Typically, I aim for an aperture of f/4 for environmental and natural light sessions; the aperture is wide enough for background blur but narrow enough to keep the subject’s head sharp. However, you can always experiment with even wider apertures, such as f/2.8 or even f/1.8. You may struggle to shoot your entire subject in focus, but in the right scenario, this can look great.
(Note: If you’re doing a studio session, with lights and prepared backgrounds, you’ll have more leeway. For such portraits, I often just use an aperture of f/8.)
4. Shoot in Manual mode
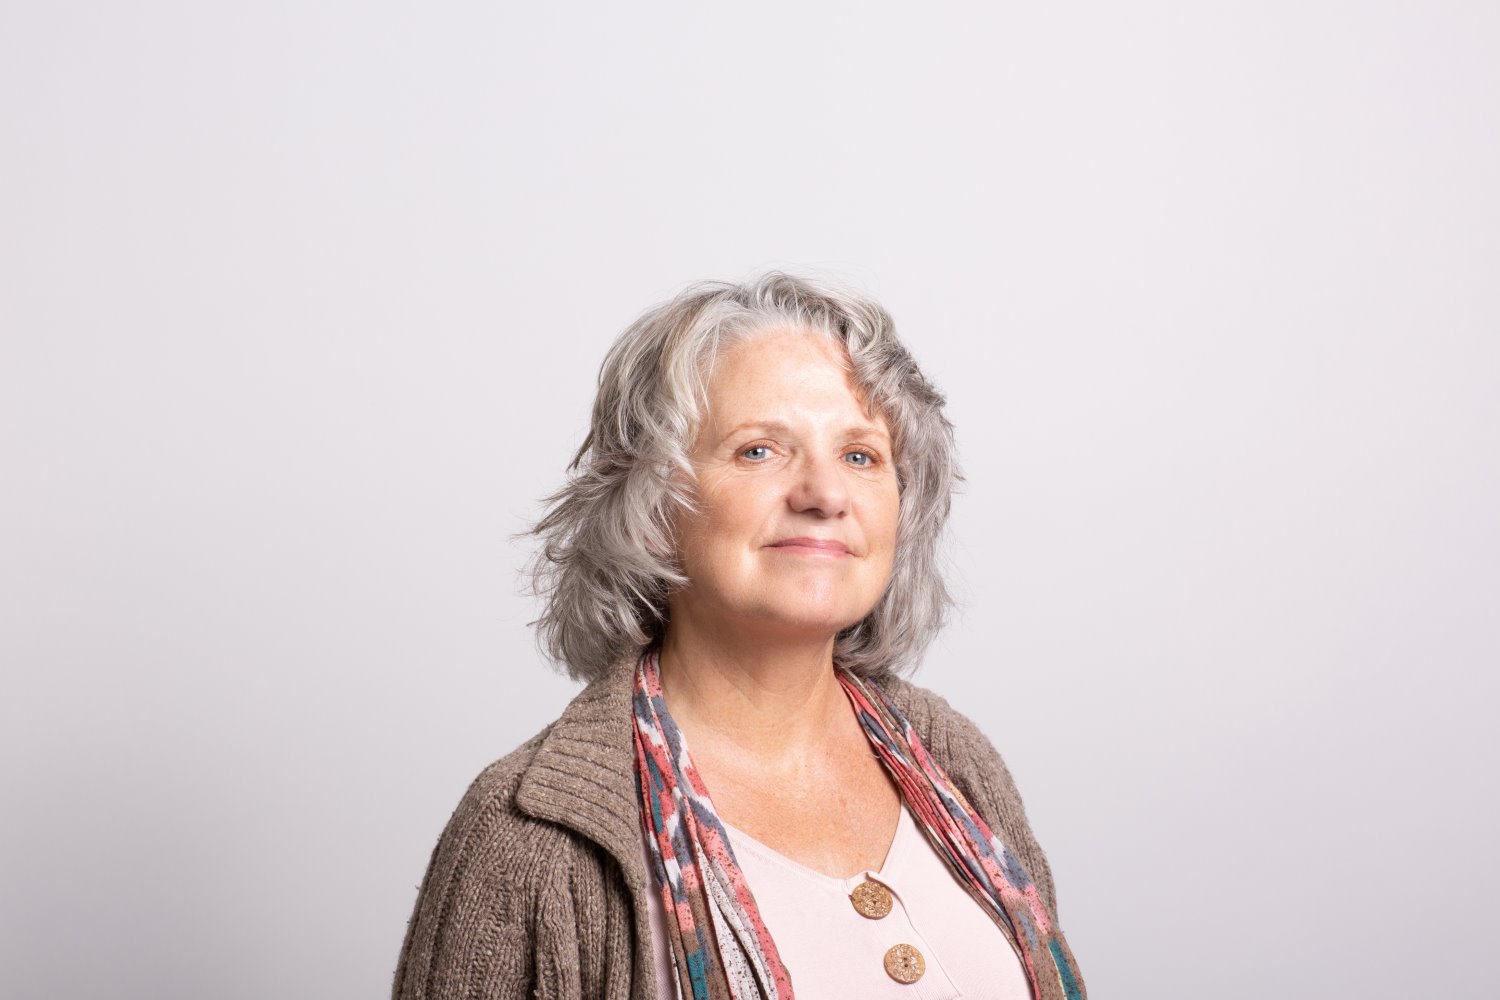
If you’re just starting out with headshot photography, you may be tempted to use your camera’s Auto mode – but while such an approach will often get you decent results, if you want to capture consistently great images, I’d really encourage you to use Manual mode instead.
With Manual mode, you can set your aperture, shutter speed, and ISO independently, which means that you can set up your lighting, take a few test shots to set the exposure, and then simply leave your settings as they are for the rest of the session. (Of course, if you change locations or the lighting changes, then you’ll need to set the exposure again!)
That way, you can focus on shooting rather than on tweaking the aperture or shutter speed as you go along. And you’ll finish your shoot confidently – because you’ll know that you consistently nailed the exposure.
5. Give your subjects time to relax
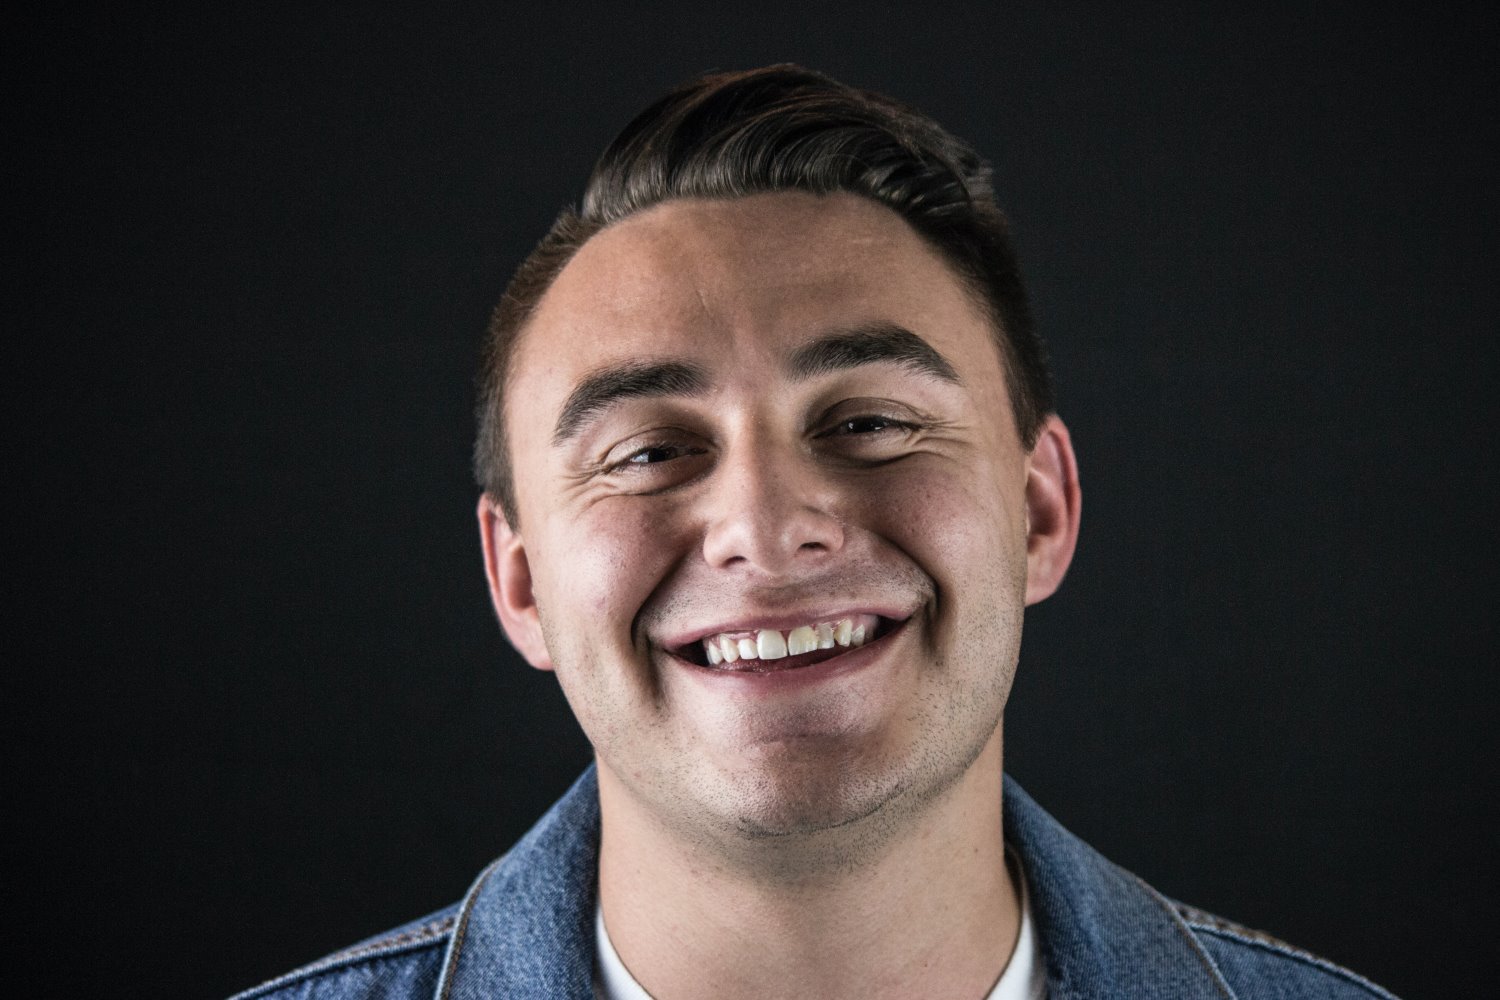
Whether you are photographing headshots for a single person or a whole team, make sure you have a general chat with each person before firing the camera. In my experience, this is the best way to help your subject relax, and relaxation leads to the best images.
Your chat can be pretty quick, too. It can be a 10-second, confident handshake and a “How are you?” Though if you have time, I’d recommend going a little deeper; people generally feel very nervous about having their photograph taken, and talking about something within their comfort zone (where they live, if they have children or pets, etc.) will really help them become more comfortable.
If you’re anxious about interacting with people – or you’re just not sure what to say – try coming up with a few lines in advance. Obviously, you don’t have to stick to your script, but a handful of memorized questions can be the difference between an engaging session and a stiff, uncomfortable one.
6. Ask for silly faces
Here’s one of my favorite tips for taking headshots, and while it’s a little unorthodox, it gets the job done:
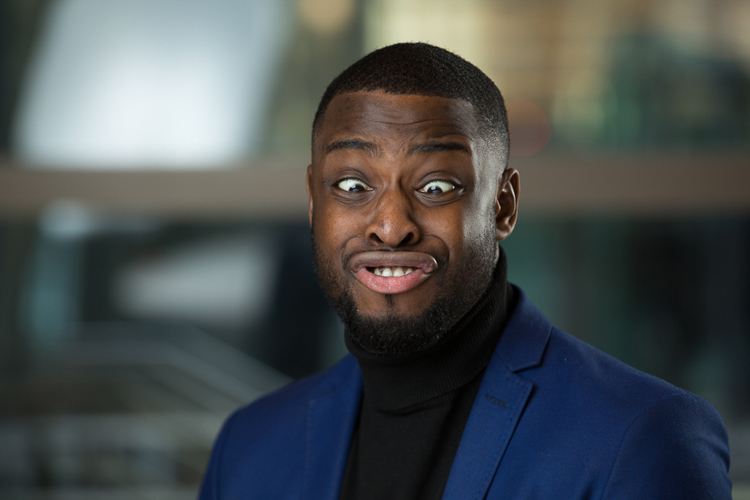
Once your subject sits down and you’re ready to take a test shot or two, ask them to pull a funny face. You can shoot it as a first frame. It’s a great way to break the ice, and very few people will refuse to do it.
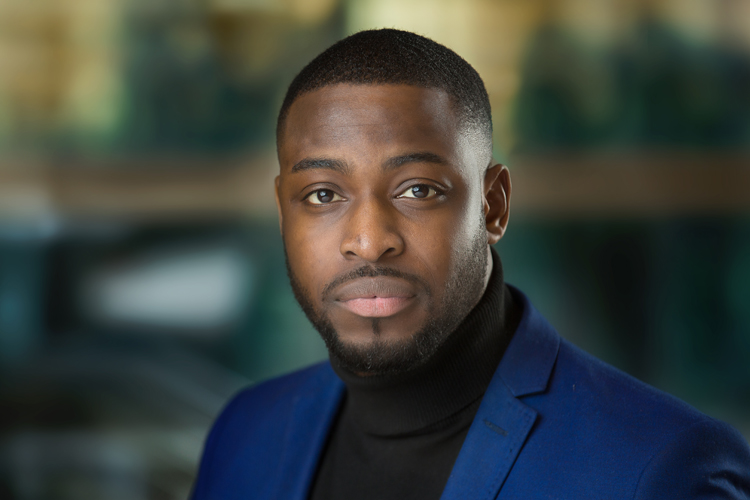
Once your subject has pulled a silly face, everything else is easy! It’s the technique I used for this headshot photo:
Which then led to this professional result:
Of course, don’t go overboard, and if your subject feels uncomfortable with the idea, don’t push it. The idea is to make them more comfortable, not less!
7. Shoot in RAW

If you’re already working in RAW, then you can skip this tip – but if you’re currently working in JPEG, then it’s essential that you read this section carefully.
You see, while JPEG files do come with several advantages – they’re far smaller and require zero processing – these are far outweighed by the disadvantages. Because JPEGs are compressed, they don’t retain all the data from the moment of capture, which means that you lose color information and tonal information when you hit that shutter button.
RAW files, on the other hand, are uncompressed. When you shoot in RAW, the files are a lot larger, but this is because they contain lots of extra information discarded by JPEGs. And it’s this extra information that will allow you to recover detail and adjust colors without issue.
Sure, most of your JPEGs will look pretty good straight out of camera. But what if you accidentally overexpose or underexpose a series of headshots? If you had the RAW file, you would likely manage to recover the lost highlight or shadow detail – but because you’re shooting in JPEG, that information will be lost forever, and your shots will be ruined.
So whatever you do, shoot in RAW! You’ll need to spend a bit of time post-processing the images when you’re done (see the final tip in this article), but I promise that it’ll be worth the extra effort.
8. Sit people down
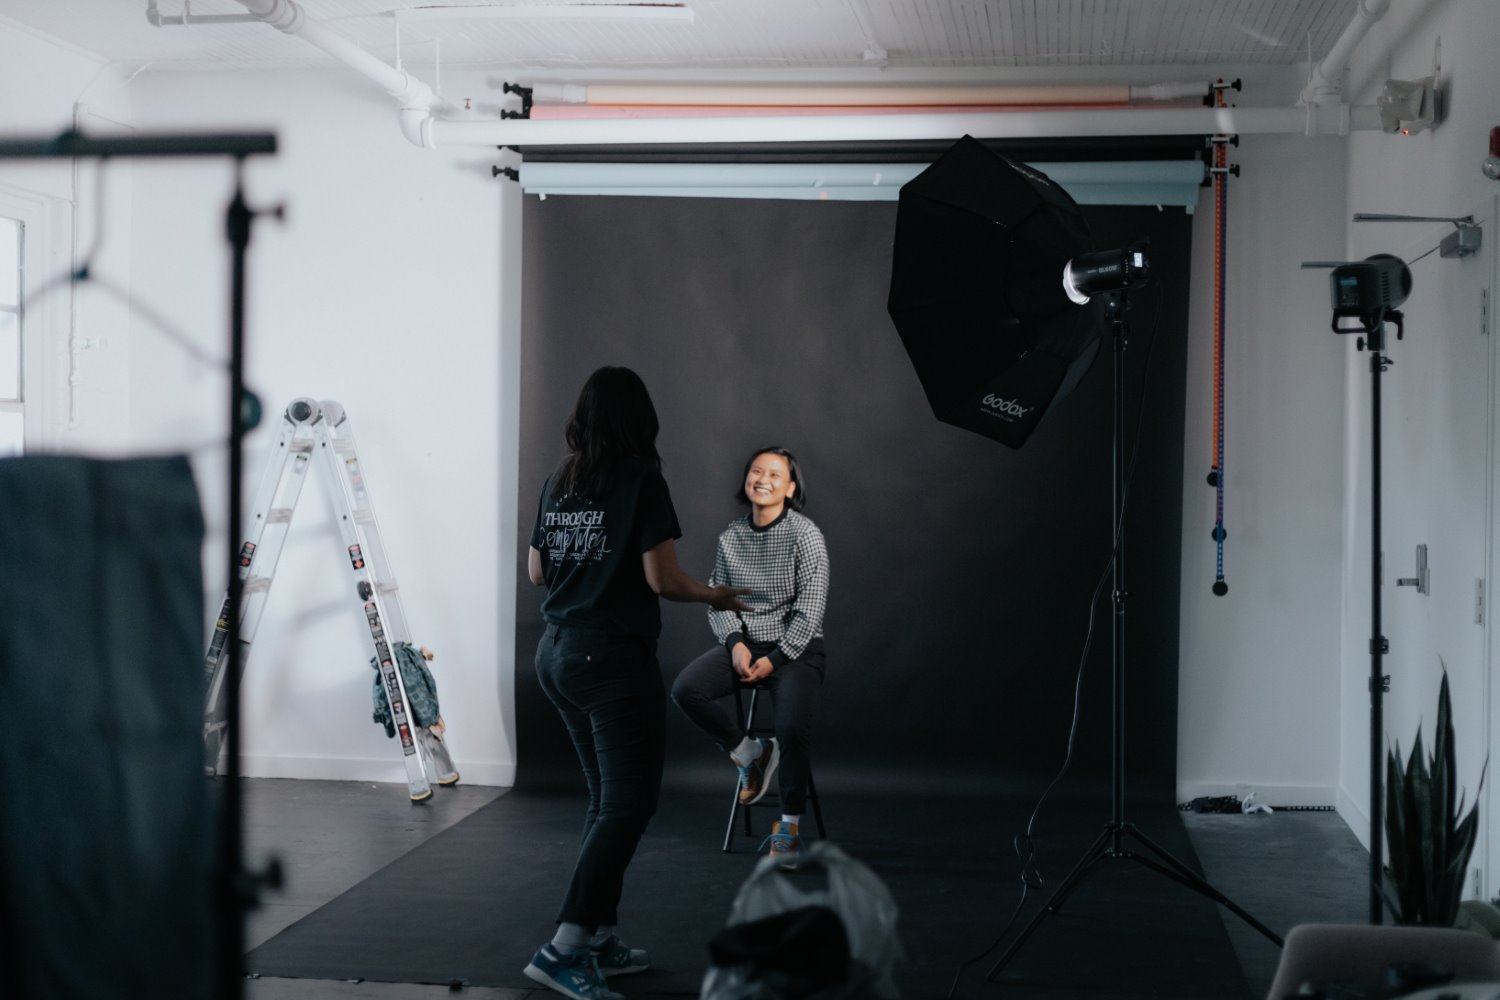
People often feel more comfortable sitting down, and at the end of the day, comfort is king. Feel free to offer the option of standing, though – people will prefer this on occasion.
Ask your subject to rest their hands on the tops of their thighs (it gives them something to do with their hands!). It also ensures that the subject knows where they need to be and won’t move around too much.
And honestly, it’s pretty tough to tell whether a headshot is taken standing up or sitting down, so don’t stress too much about how either option looks.
9. Pay attention to the little things
What separates a great headshot from an average one are generally very small changes – little adjustments that can make all the difference.
So once you’ve got your lighting set up and your subject relaxed and ready to go, don’t rush. Instead, take the time to make changes: The slight tilt to the head, a subtle lean forward, a gentle but intriguing smile.
Don’t be afraid to ask someone to make very specific changes to their expression and position until you get the image you’re looking for. And once you do have the perfect shot, feel free to experiment a little with poses and even (if you’re not working with a series of clients) lighting. Who knows when you’ll come up with the next great look!
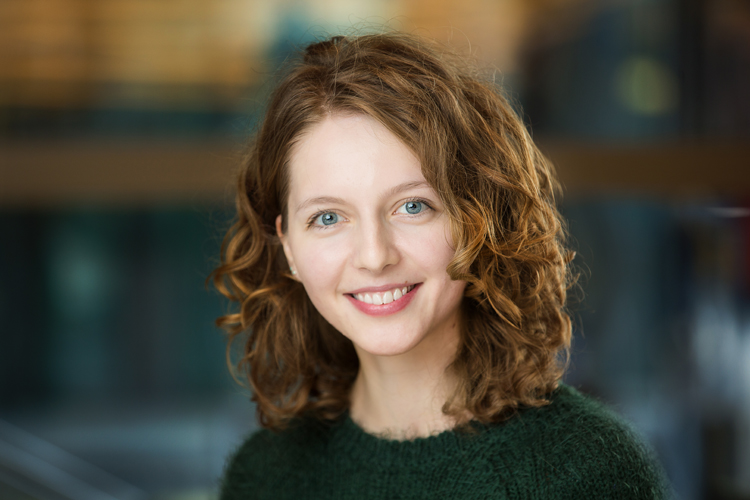
Below is a professional headshot example. Can you spot the little things that make it great?
10. Keep talking and be positive
When you’re taking photographs, talk to your subject. Reassure them that they’re doing it right and that you’re getting great images. It’s hard to do, yes – but it’s worth it because your subject will remain comfortable and you’ll stay on track to get professional headshot results.
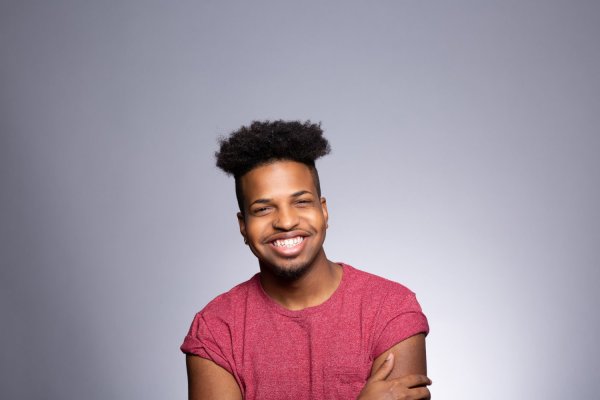
In fact, even if you’re not satisfied with the images you’re getting, continue to praise your subject. When your subject turns their head in a certain direction or when the light falls in a bad way, never express those feelings. Instead, tell them they’ve done a great job – then subtly prompt them to make adjustments to their pose.
Bottom line: Silence will kill the atmosphere, so no matter what is happening, just keep chatting. Stay positive!
11. Shoot tethered
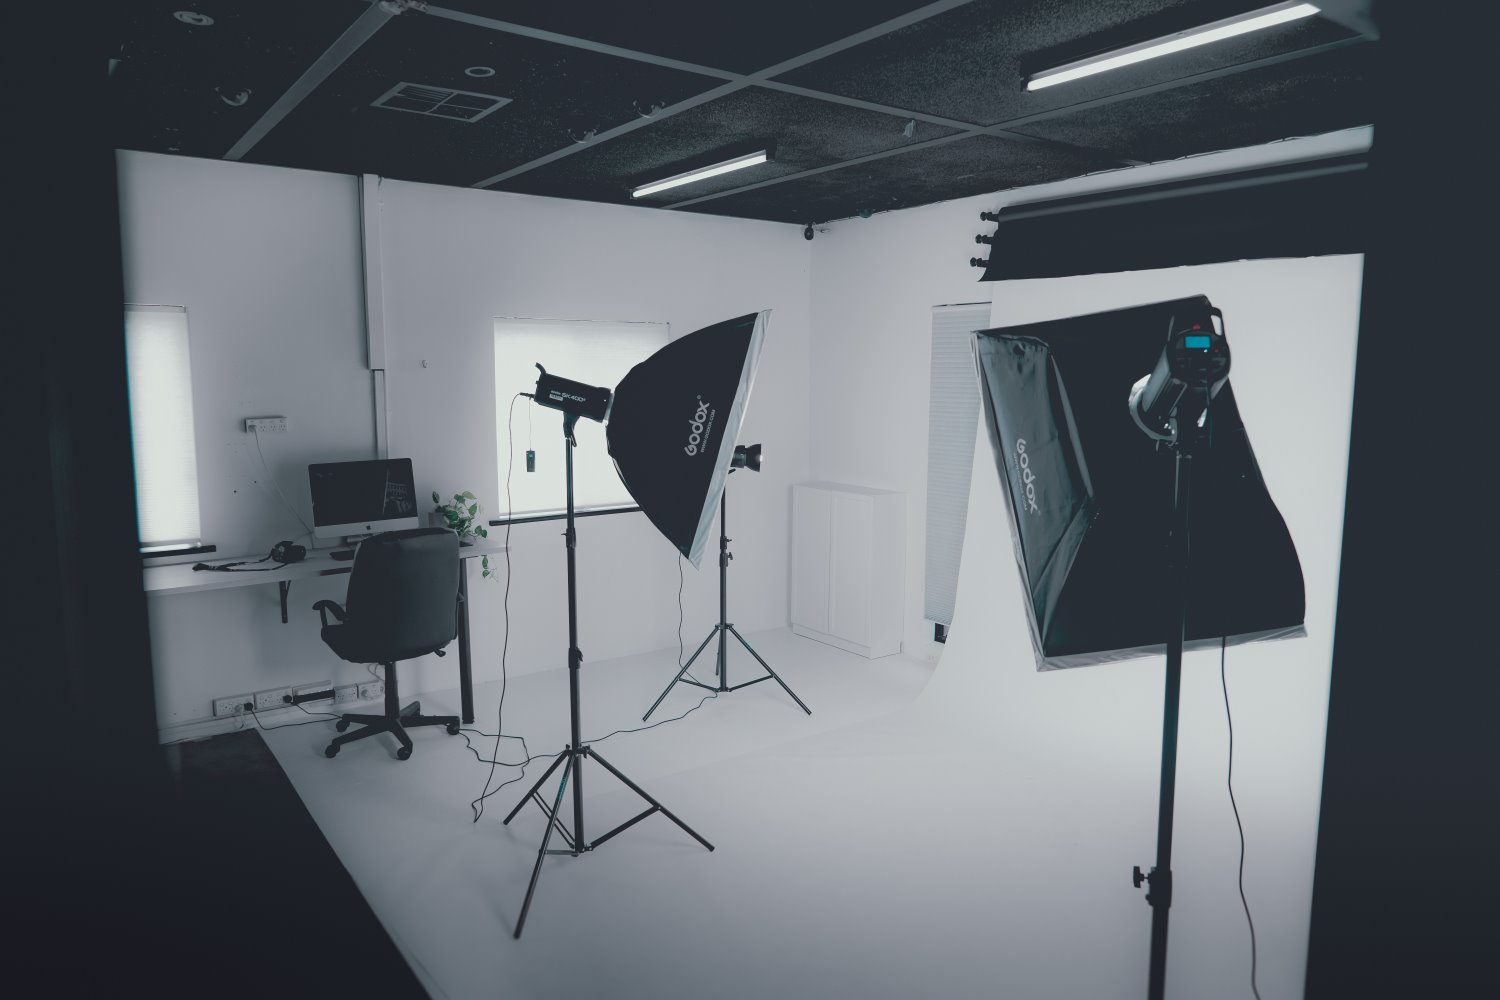
This isn’t essential, but if you have all the necessary equipment, I highly recommend you shoot tethered. And if you don’t have all the equipment, consider investing, because tethered shooting can be an absolute game-changer.
Note: Tethered photography involves connecting your camera to your laptop or desktop computer. As soon as you fire off a shot, it’ll appear on your monitor. You can even change your camera settings and hit the shutter button using your computer!
What makes tethering so effective? For one, when your subject can see a couple of shots on the screen, they’ll quickly get an idea of what needs to be changed. And tethered shooting is great for you, the photographer; you can see whether your lighting looks good, whether your subject is in focus, whether they’re nicely posed, etc., much more easily than on your camera’s LCD preview or in the camera viewfinder.
12. Don’t forget to process your photos
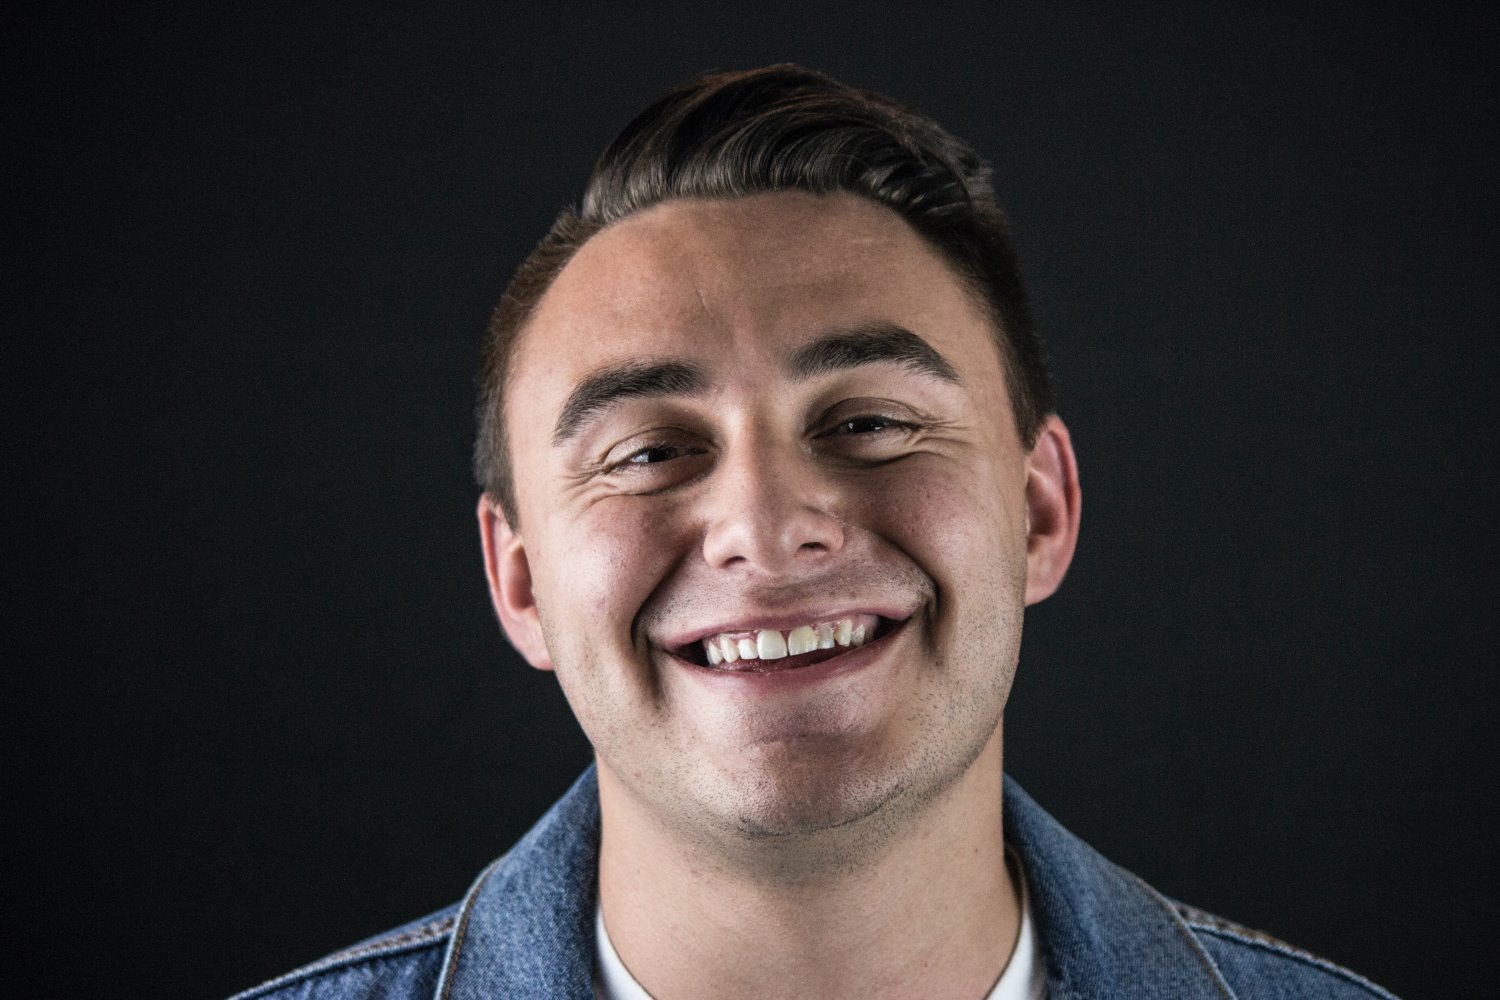
Before you post an image online or share it with your clients, make sure you always, always, always spend time editing it in Lightroom, Photoshop, or your program of choice.
While you don’t need to go overboard with post-processing, a little work can go a long way. Make sure you correct the white balance to achieve natural colors, adjust the exposure until you have plenty of nice shadow and highlight detail, and try boosting the contrast for a little extra pop.
You might also add a slight vignette to the headshot to help the viewer focus on the main subject. And if you’re up for it, you can do some higher-level retouching to remove blemishes, whiten teeth, and subtly improve skin.
If you’re feeling intimidated by post-processing software, I’d really encourage you to head into a program and spend some time playing around with different sliders and tools. With enough experimentation, anyone can get great results!
Headshot photography tips: final words
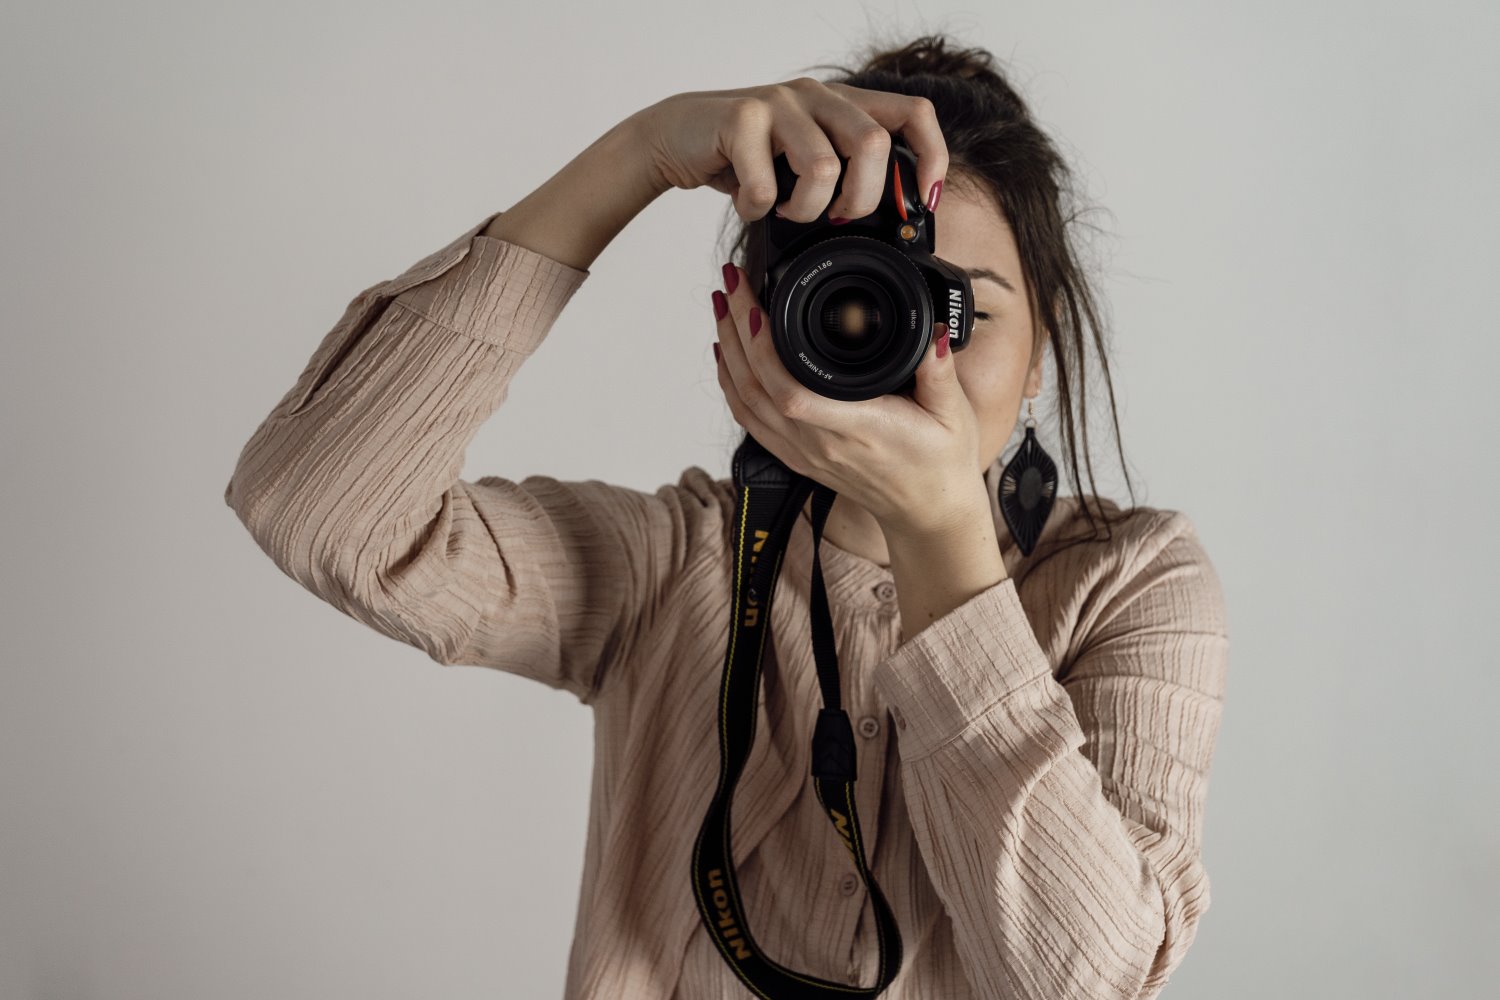
By now, you should have a good grasp of what it takes to excel in headshot photography. And while the journey toward capturing those perfect headshots will undoubtedly involve some trial and error, it’ll also be incredibly rewarding!
Remember, the best headshot doesn’t just capture a face; it captures a personality. It serves as a powerful tool for making first impressions in the digital age. And you, equipped with the right knowledge and gear, can be the one to make that happen.
I hope you find these tips for better headshot photos helpful. Commit them to memory, make my suggested changes, and pretty soon, you’ll be capturing pro-level images!
Now over to you:
Do you have any other tips we missed? Please share them – and your favorite headshot photos – in the comments below!
Note: This article was updated in September 2023 by dPS’s Managing Editor, Jaymes Dempsey.
-
GENERAL
-
PREPARATION
-
SETTINGS
-
LIGHTING
-
POSING
-
COMPOSITION
-
GEAR
-
ADVANCED GUIDES
-
CREATIVE TECHNIQUES
-
POST-PROCESSING
-
BUSINESS
-
INSPIRATION
-
RESOURCES
